Nginx通过Upstream模块实现负载均衡
upstream 支持的负载均衡算法
主机清单:
| 主机名 | ip | 系统 | 用途 |
|---|---|---|---|
| proxy-master | 10.36.192.215 | centos7.9 | 主负载 |
| proxy-slave | 10.36.192.228 | centos7.9 | 主备 |
| server1 | 10.36.192.244 | Centos7.9 | web1 |
| server2 | 10.36.192.224 | centos7.9 | Web2 |
| Vip for proxy | 10.36.192.99 |
给所有服务器改成上述对应名称
所有服务都安装nginx并启动
配置nginx的负载均衡
主负载和主备服务器都进入nginx配置文件添加
[root@proxy-master ~]# vim /etc/nginx/conf.d/default.conf
upstream web{
  server 10.36.192.244:80 weight=1 max_fails=3 fail_timeout=20s;
  server 10.36.192.224:80 weight=1 max_fails=3 fail_timeout=20s;
}
server {
  listen 80;
  server_name localhost;
  location / {
    proxy_pass http://web;
    proxy_set_header Host $host:$proxy_port;
    proxy_set_header X-Forwarded-For $remote_addr;
    }
}
[root@proxy-master ~]# nginx -t
nginx: the configuration file /etc/nginx/nginx.conf syntax is ok
nginx: configuration file /etc/nginx/nginx.conf test is successful
[root@proxy-master ~]# systemctl restart nginx
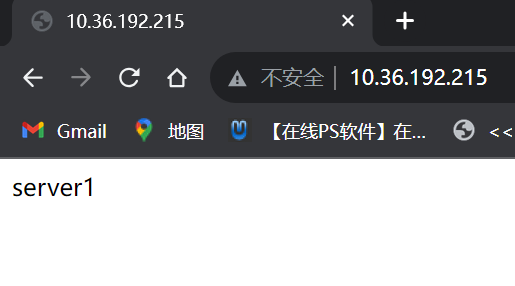
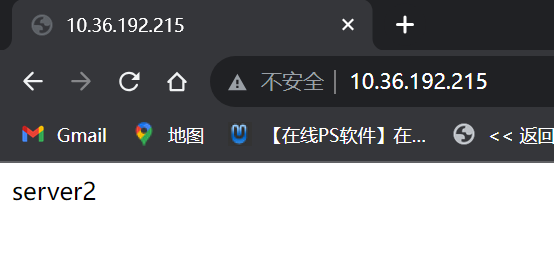
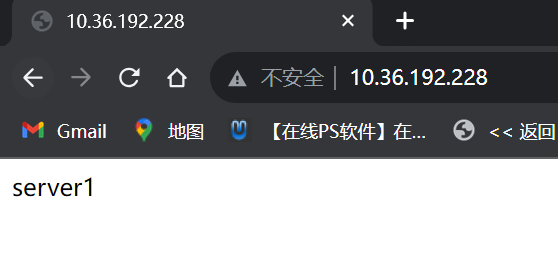
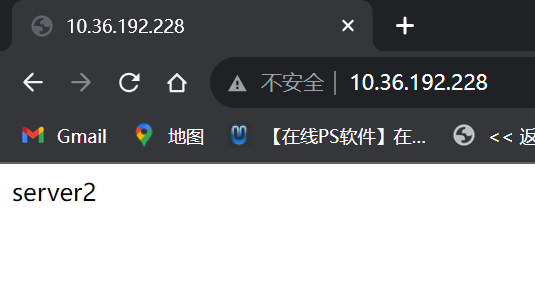
在web1和web2服务器网站目录输入不同信息查看
进入web1服务器
[root@server1 ~]# echo “server1” > /usr/share/nginx/html/index.html
进入web2服务器
[root@server2 ~]# echo “server2” > /usr/share/nginx/html/index.html
Keepalived实现调度器HA
注:主/备调度器均能够实现正常调度
- 主/备调度器安装软件
主负载
[root@proxy-master ~]# yum install -y keepalived
[root@proxy-master ~]# cp /etc/keepalived/keepalived.conf /etc/keepalived/keepalived.conf.bak
[root@proxy-master ~]# vim /etc/keepalived/keepalived.conf
! Configuration File for keepalived

global_defs {
   router_id directory1
}

vrrp_instance VI_1 {
    state MASTER         #定义主负载还是主备
    interface ens33
    virtual_router_id 80
    priority 100         #优先级设置
    advert_int 1
    authentication {
        auth_type PASS
        auth_pass 1234
    }
    virtual_ipaddress {
        10.36.192.99/24    #vip
    }
}
主备
[root@proxy-slave ~]# yum install -y keepalived
[root@proxy-slave ~]# cp /etc/keepalived/keepalived.conf /etc/keepalived/keepalived.conf.bak
[root@proxy-slave ~]# vim /etc/keepalived/keepalived.conf
! Configuration File for keepalived

global_defs {
   router_id directory2
}

vrrp_instance VI_1 {
    state BACKUP
    interface ens33
    virtual_router_id 80
    priority 50
    advert_int 1
    authentication {
        auth_type PASS
        auth_pass 1234
    }
    virtual_ipaddress {
        10.36.192.99/24
    }
}
启动KeepAlived(主备均启动)
[root@proxy-master ~]# systemctl start keepalived
[root@proxy-master ~]# systemctl enable keepalived
Created symlink from /etc/systemd/system/multi-user.target.wants/keepalived.service to /usr/lib/systemd/system/keepalived.service.
[root@proxy-slave ~]# systemctl start keepalived
[root@proxy-slave ~]# systemctl enable keepalived
Created symlink from /etc/systemd/system/multi-user.target.wants/keepalived.service to /usr/lib/systemd/system/keepalived.service.

到此:
可以解决心跳故障keepalived
不能解决Nginx服务故障
扩展对调度器Nginx健康检查(可选)两台都设置
让Keepalived以一定时间间隔执行一个外部脚本,脚本的功能是当Nginx失败,则关闭本机的Keepalived
[root@proxy-master ~]# vim /etc/keepalived/check-nginx-status.sh
#!/bin/bash
/usr/bin/curl -I http://localhost &>/dev/null
if [ $? -ne 0 ];then
#	/etc/init.d/keepalived stop
	systemctl stop keepalived
fi
[root@proxy-master ~]# chmod a+x /etc/keepalived/check-nginx-status.sh
keepalived使用script
[root@proxy-master ~]# vim /etc/keepalived/keepalived.conf
! Configuration File for keepalived

global_defs {
   router_id directory1
}
vrrp_script check_nginx {
   script "/etc/keepalived/check-nginx-status.sh"
   interval 5
}
vrrp_instance VI_1 {
    state MASTER
    interface ens33
    virtual_router_id 80
    priority 100
    advert_int 1
    authentication {
        auth_type PASS
        auth_pass 1234
    }
    virtual_ipaddress {
        10.36.192.99/24
    }
    track_script {
        check_nginx
    }
}
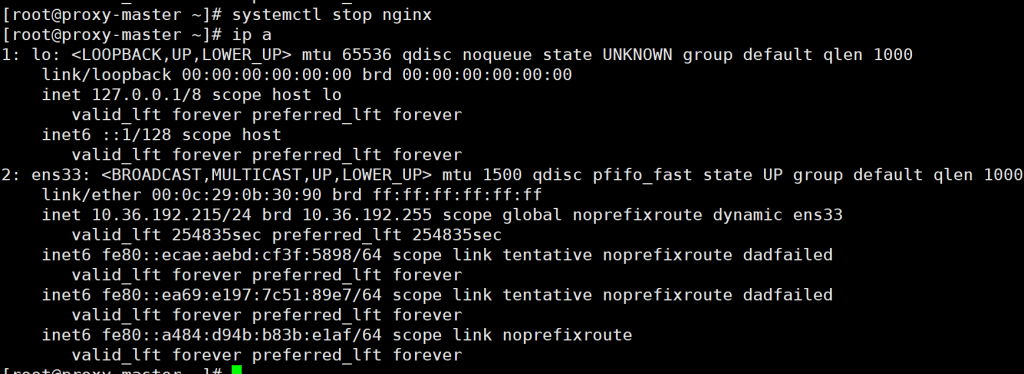

如图所示关闭主负载服务器nginx脚本检测到后自动关闭了keepalived转到了主备