1、安装环境
关闭防火墙和selinux
准备一台服务器
2、配置安装rabbitmq软件
[root@localhost ~]# yum install -y epel-release gcc-c++ unixODBC unixODBC-devel openssl-devel ncurses-devel
[root@localhost ~]# curl -s https://packagecloud.io/install/repositories/rabbitmq/erlang/script.rpm.sh | sudo bash
[root@localhost ~]# yum install erlang-21.3.8.21-1.el7.x86_64
[root@localhost ~]# erl
Erlang/OTP 21 [erts-10.3.5.16] [source] [64-bit] [smp:1:1] [ds:1:1:10] [async-threads:1] [hipe]
Eshell V10.3.5.16 (abort with ^G)
1>
[root@localhost ~]# yum -y install https://mirrors.huaweicloud.com/rabbitmq-server/v3.7.10/rabbitmq-server-3.7.10-1.el7.noarch.rpm
3、启动
[root@localhost ~]# systemctl daemon-reload
[root@localhost ~]# systemctl start rabbitmq-server
开启rabbitmq的web访问界面:
[root@localhost ~]# rabbitmq-plugins enable rabbitmq_management
rabbitmq启动成功
4、创建用户
添加用户和密码(zhangsan是用户,123456是密码)
[root@localhost ~]# rabbitmqctl add_user zhangsan 123456
Adding user “zhangsan” …
设置zhangsan为管理员
[root@localhost ~]# rabbitmqctl set_user_tags zhangsan administrator
Setting tags for user “zhangsan” to [administrator] …
此处设置权限时注意’.‘之间需要有空格 三个’.‘分别代表了conf权限,read权限与write权限 例如:当没有给
zhangsan设置这三个权限前是没有权限查询队列,在ui界面也看不见
[root@localhost ~]# rabbitmqctl set_permissions -p “/” zhangsan “.” “.” “.*”
Setting permissions for user “zhangsan” in vhost “/” …
5、开启用户远程登录
[root@localhost ~]# cp /usr/share/doc/rabbitmq-server-3.7.10/rabbitmq.config.example /etc/rabbitmq/rabbitmq.config
[root@localhost ~]# vim /etc/rabbitmq/rabbitmq.config
将61行注释打开并删除行尾逗号
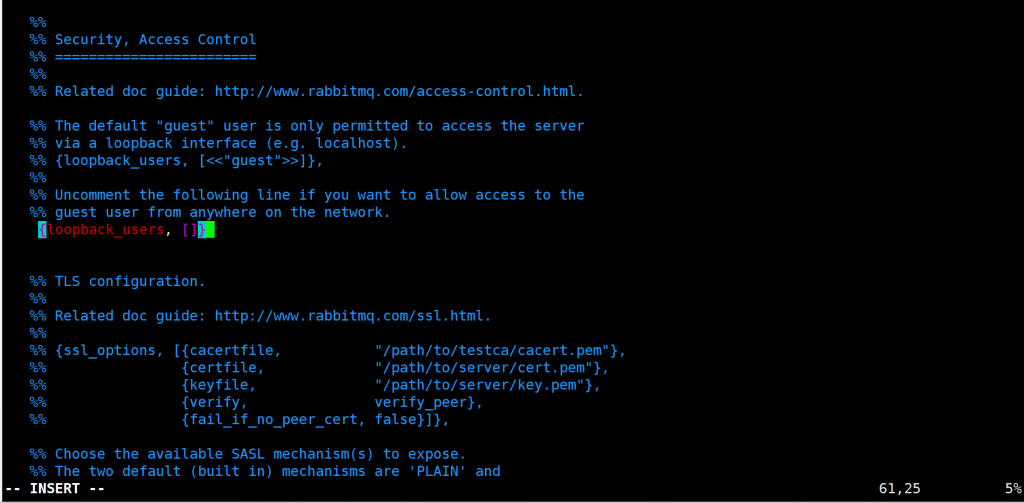
重启服务
[root@localhost ~]# systemctl restart rabbitmq-server
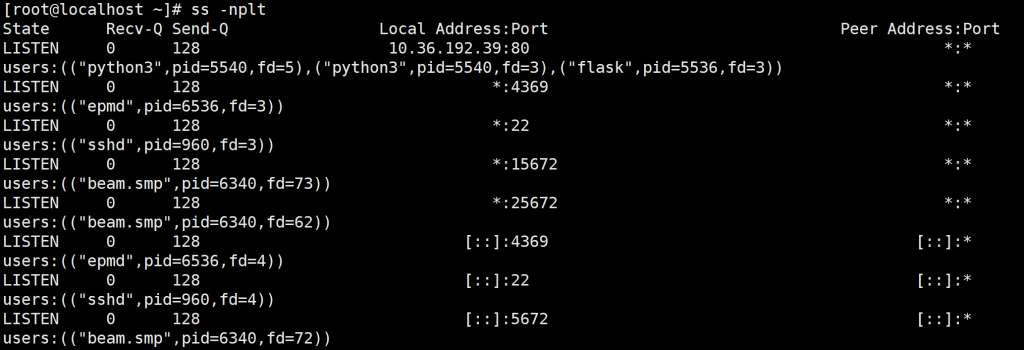
查看端口

4369 — erlang发现端口
5672 –程序连接端口
15672 — 管理界面ui端口
25672 — server间内部通信口
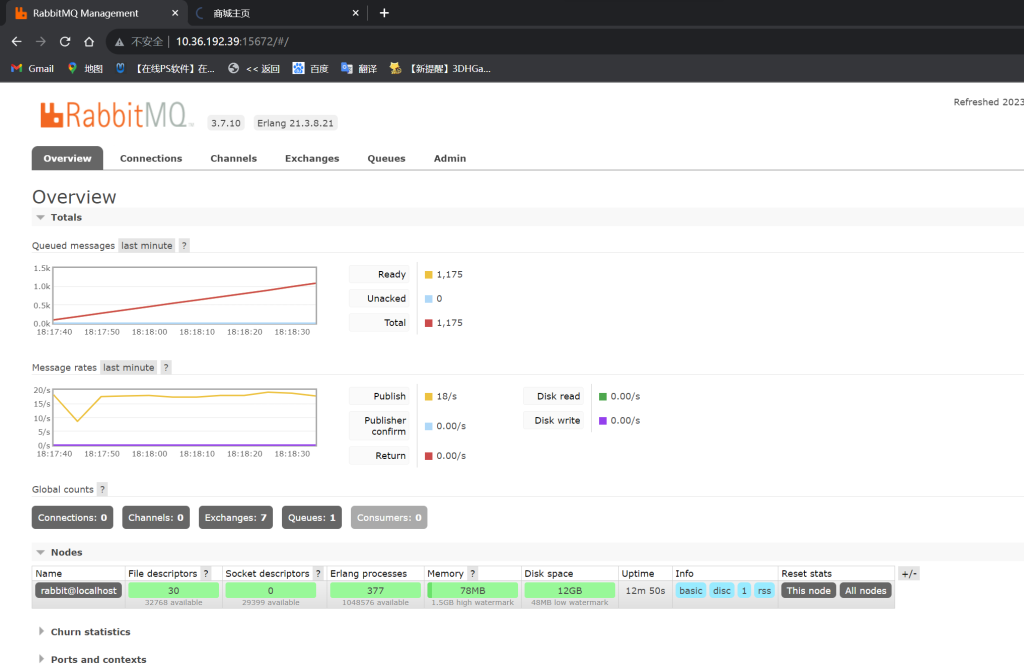
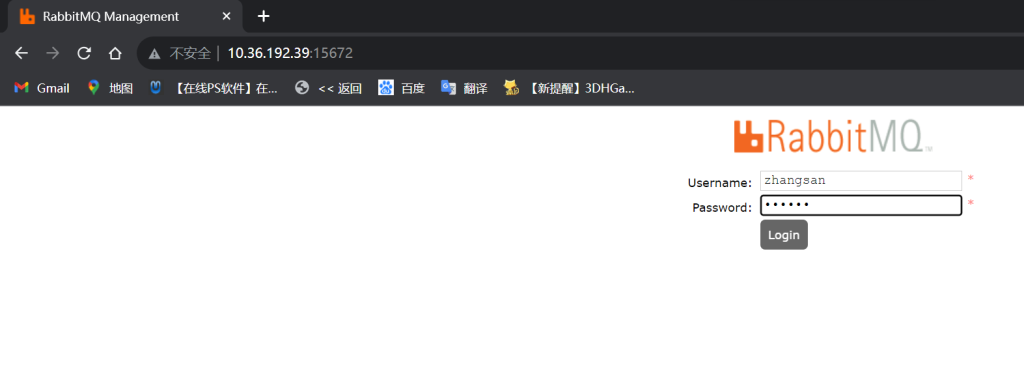
访问:10.36.192.39:15672

6、安装小工具Rabbit-test测试
[root@localhost ~]# git clone https://gitea.beyourself.org.cn/newrain001/rabbitmq-test.git && \
cd rabbitmq-test && yum install -y python3 python3-devel && \
pip3 install -r requirements.txt -i https://mirrors.aliyun.com/pypi/simple && \
export FLASK_ENV=development ; flask run –reload -p 80 -h 10.36.192.39

访问10.36.192.39
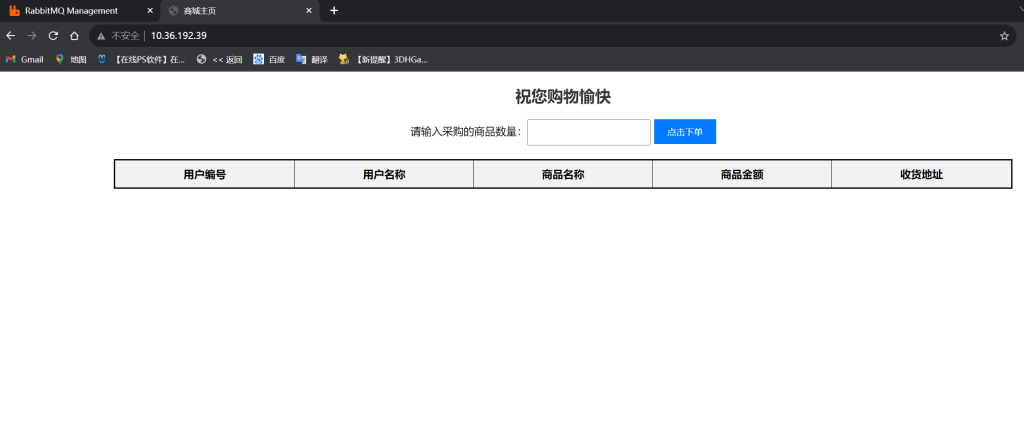
输入10000点击下单看看变化