承接上文服务端使用
1、安装环境
上文服务端服务器 10.36.192.129
服务端做域名解析
[root@localhost ~]# vim /etc/hosts

准备一个客户端服务器 10.36.192.219
关闭防火墙和selinux
2、客户端安装zabbix-agent服务
[root@ansible1 ~]# rpm -Uvh https://repo.zabbix.com/zabbix/5.0/rhel/7/x86_64/zabbix-release-5.0-1.el7.noarch.rpm
[root@ansible1 ~]# yum clean all
[root@ansible1 ~]# yum install zabbix-agent zabbix-sender -y
[root@ansible1 ~]# vim /etc/zabbix/zabbix_agentd.conf
Server=10.36.192.129       #指明服务器是谁
ListenPort=10050            #自己监听的端口
ListenIP=0.0.0.0            #自己监听的地址,0.0.0.0表示本机所有地址
StartAgents=3               #优化时使用的

ServerActive=10.36.192.129 #主动监控时的服务器
Hostname=ansible1     #自己能被server端识别的名称

[root@ansible1 ~]# systemctl start zabbix-agent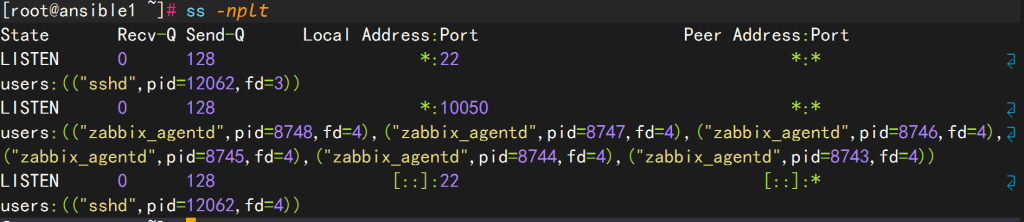
启动成功
3、在zabbix-server端配置邮箱报警
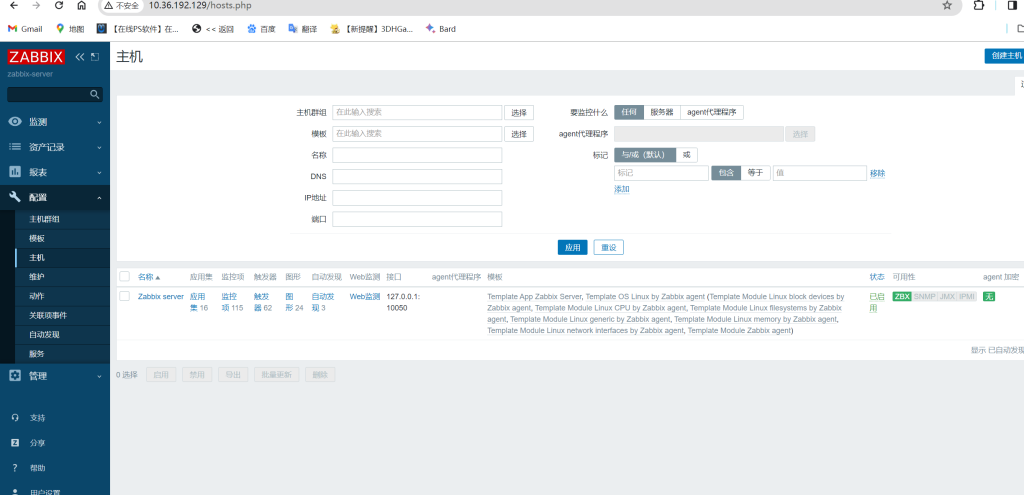
1)访问服务端10.36.192.129网页进入配置页面
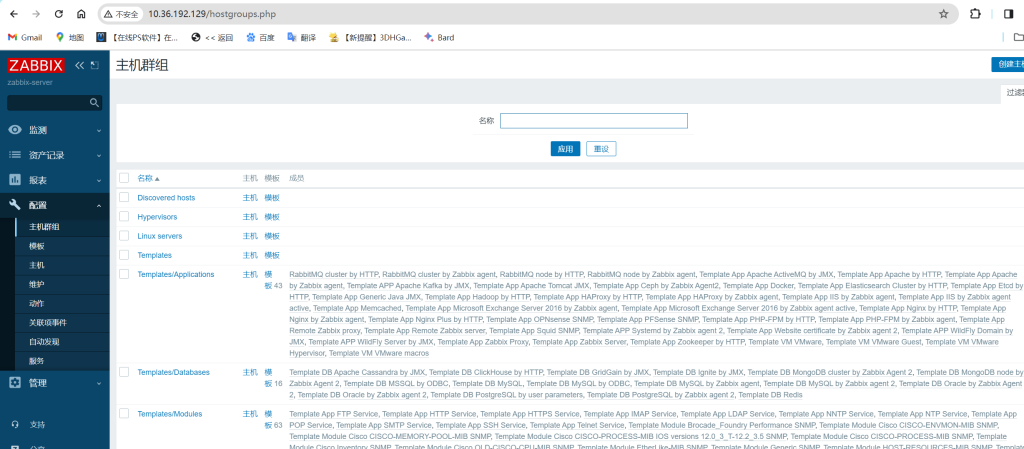
2)点击右上角创建web主机群组方便测试
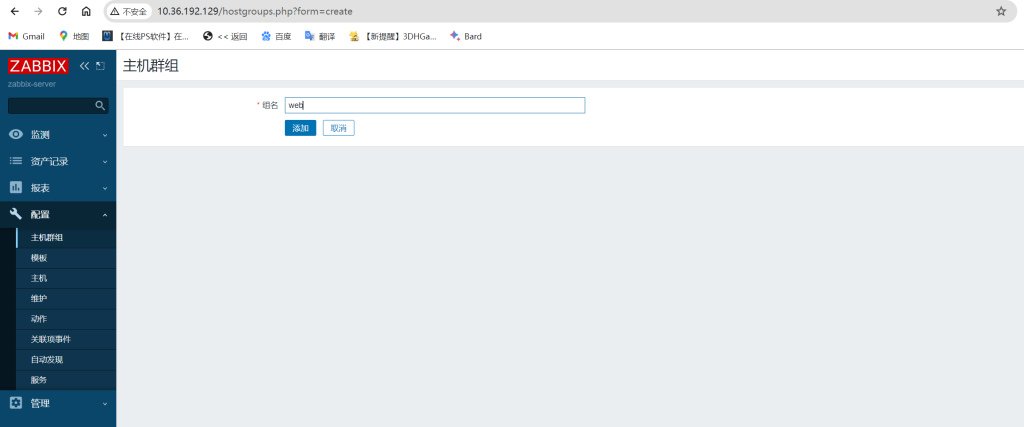
添加
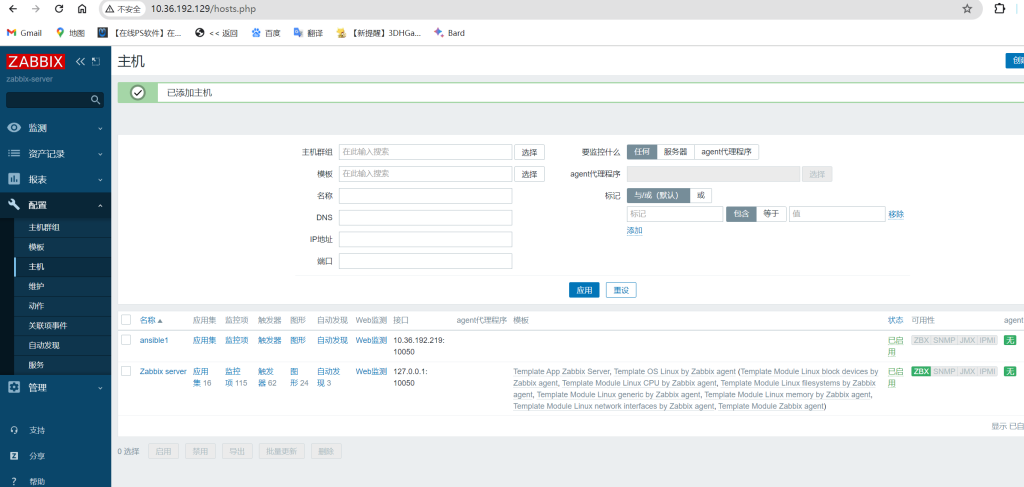
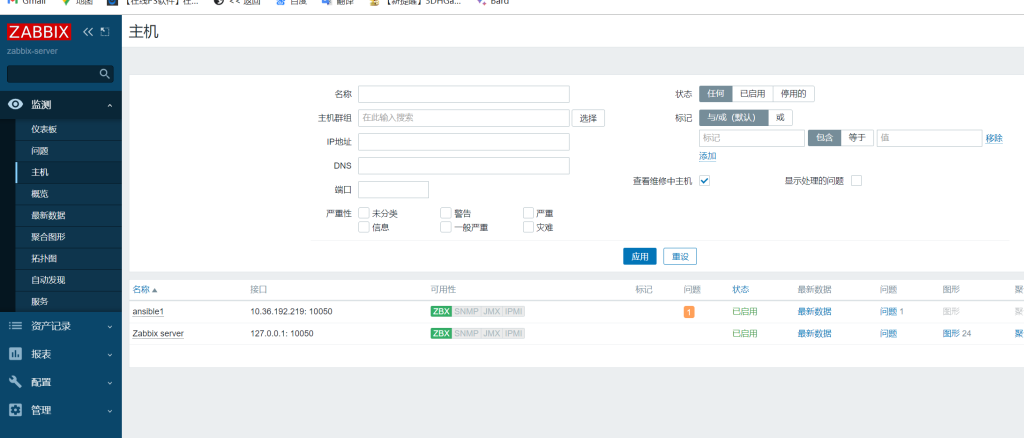
3)创建主机
点击创建主机添加主机名称(与配置文件填写一致)添加刚刚创建的web群组并填写客户端ip后点击添加

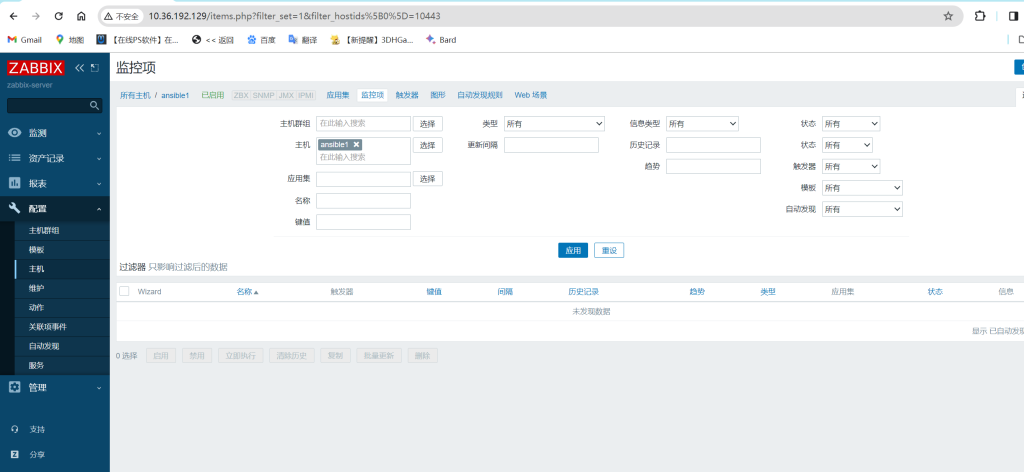
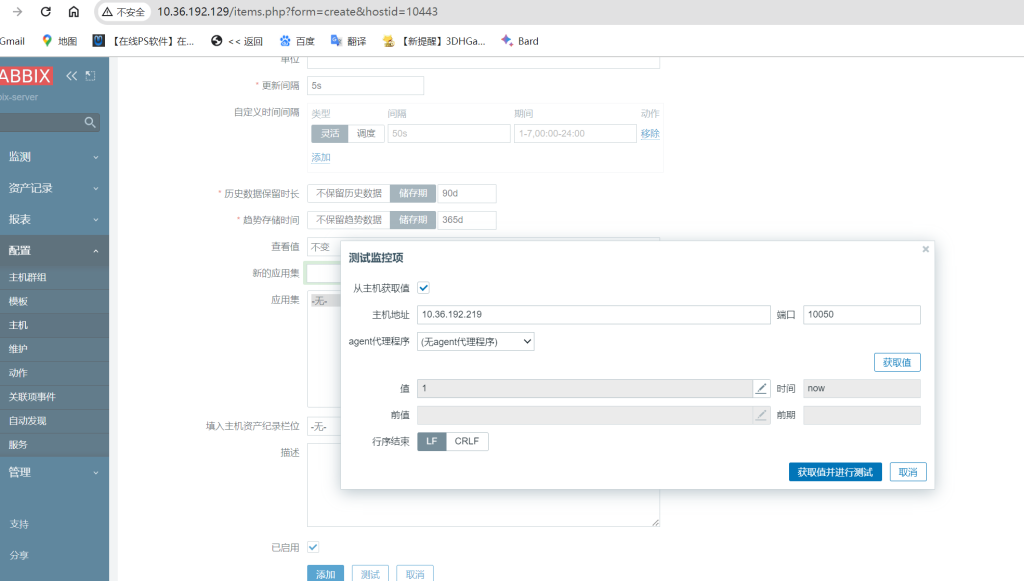
4)创建监控项(监控22端口ssh连接方便测试)
点击ansible1主机监控项
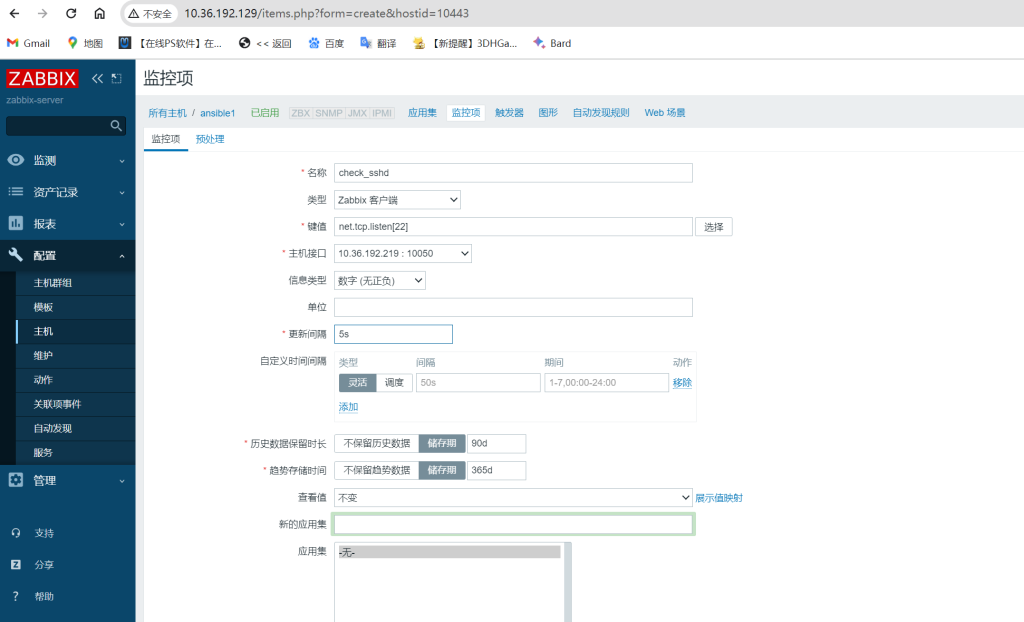
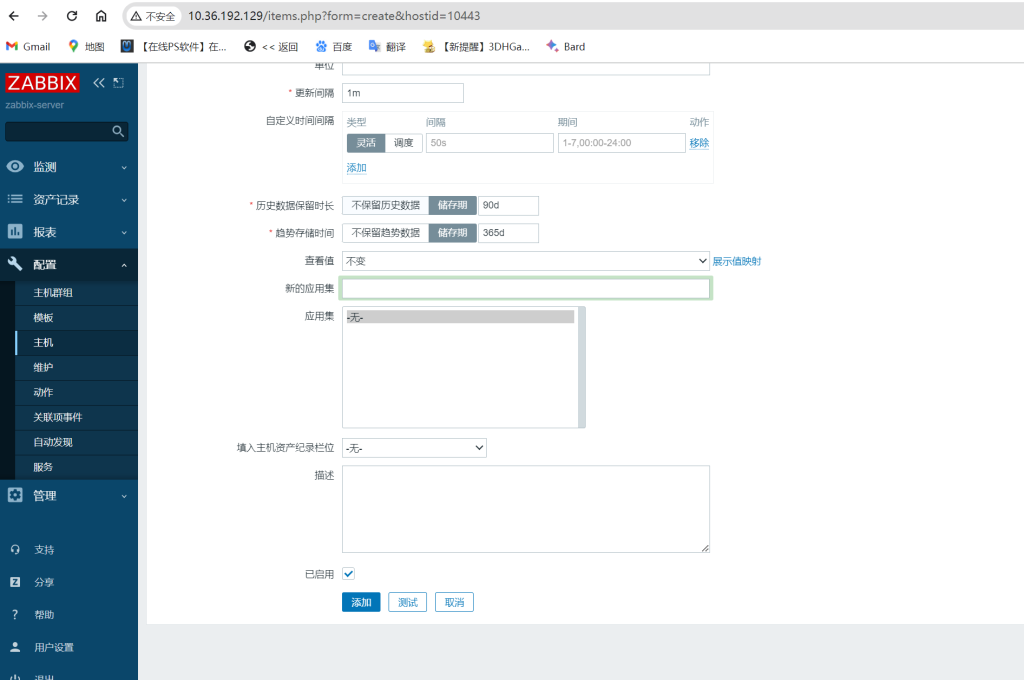
点击右上角创建监控项后填写名称(可以随便填写)、键值选择监听端口[prot]里改成要监听的端口[22]、更新间隔改为5s方便检测后点击下列测试获取值(值为1代表端口正常)查看能否获取成功,成功后点击添加
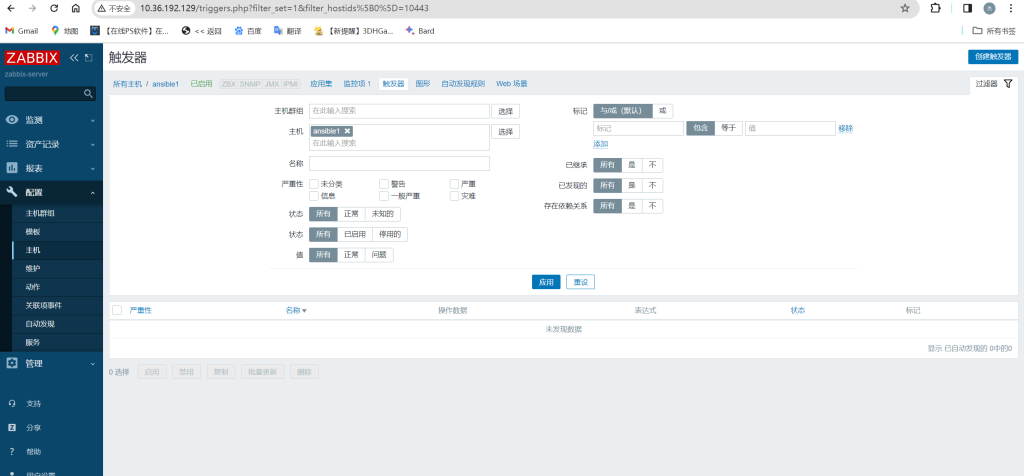
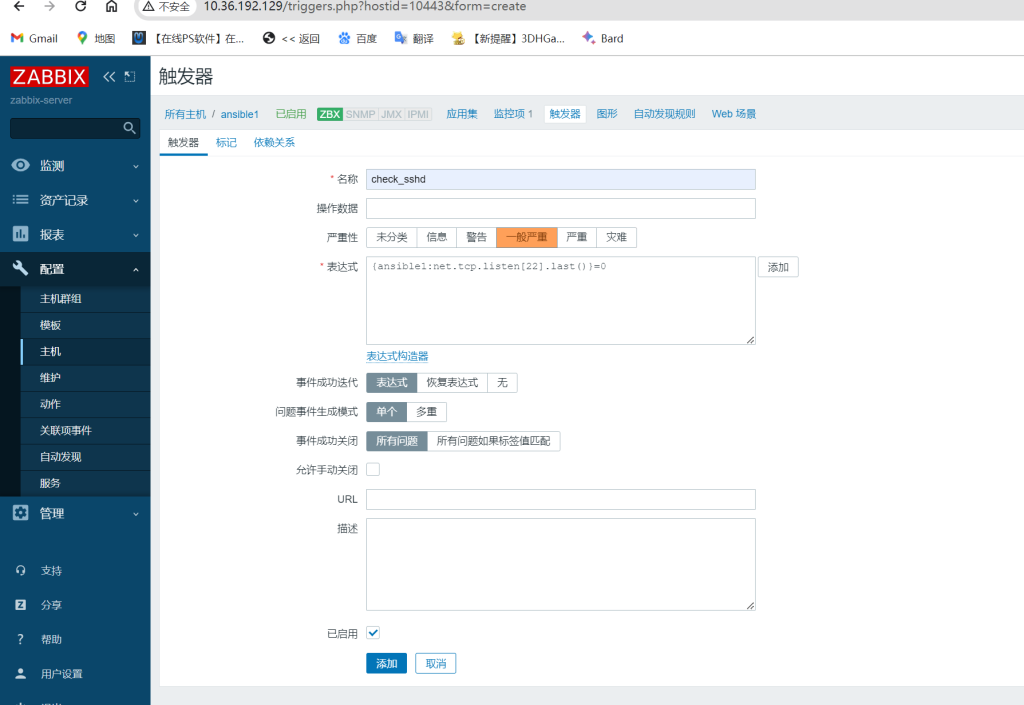
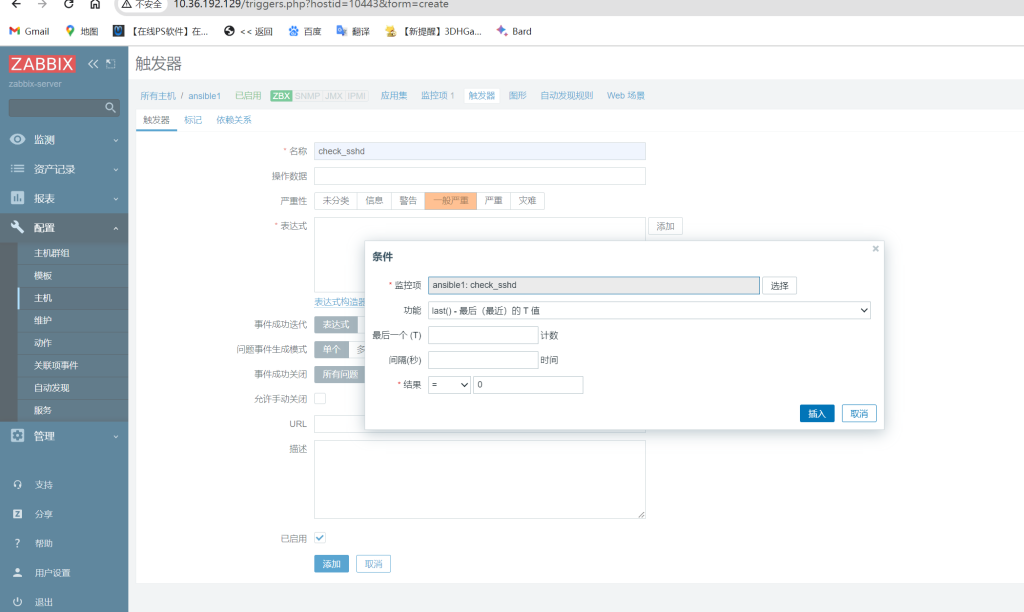
5)创建触发器
点击创建触发器
添加触发器名称(可以自行设置)、选择严重性、添加表达式(设置最后一次值为0触发)

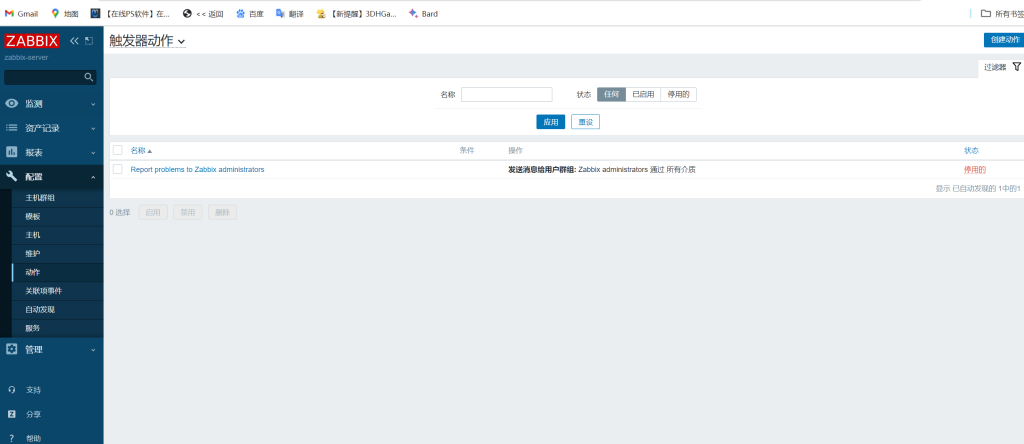
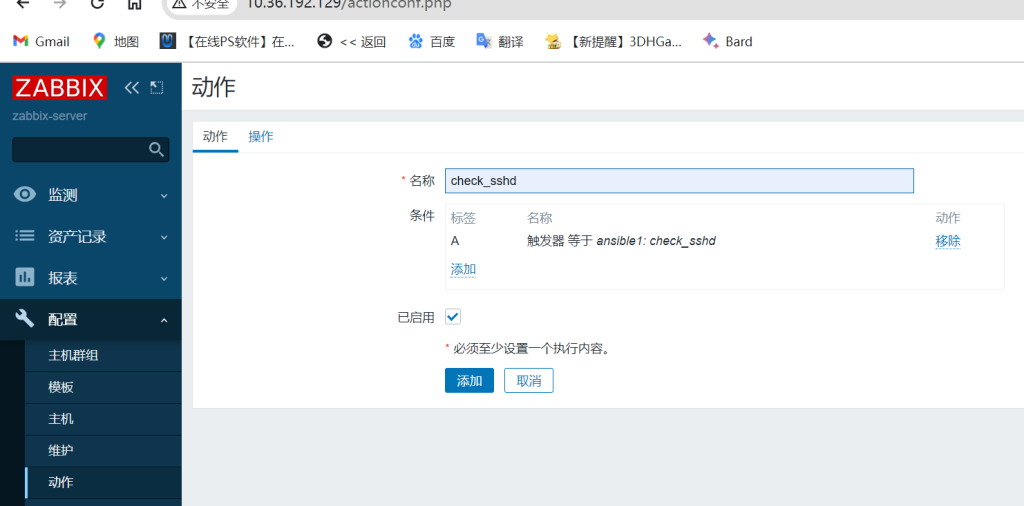
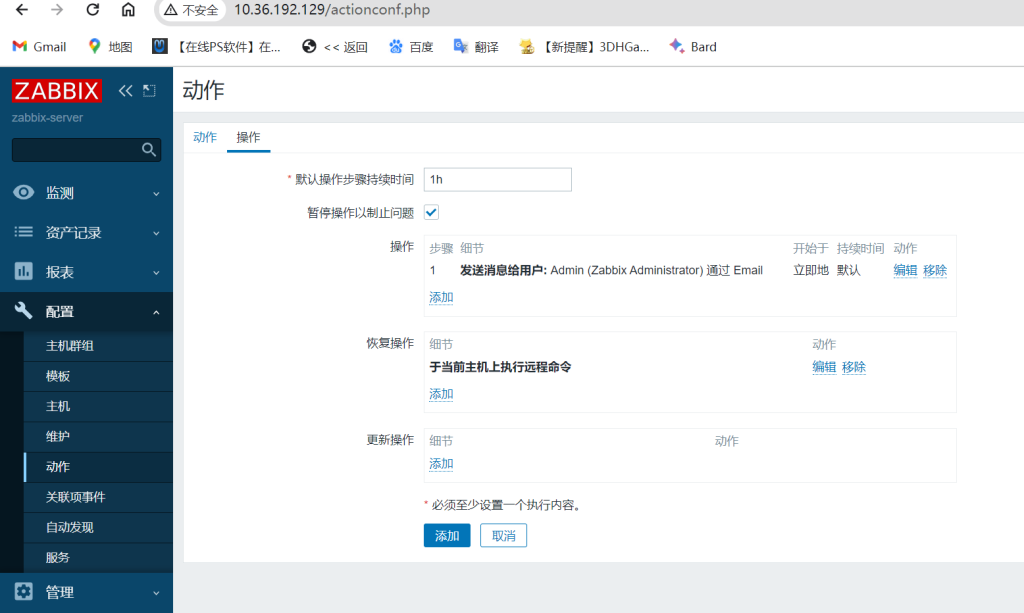
6)创建动作
点击创建动作

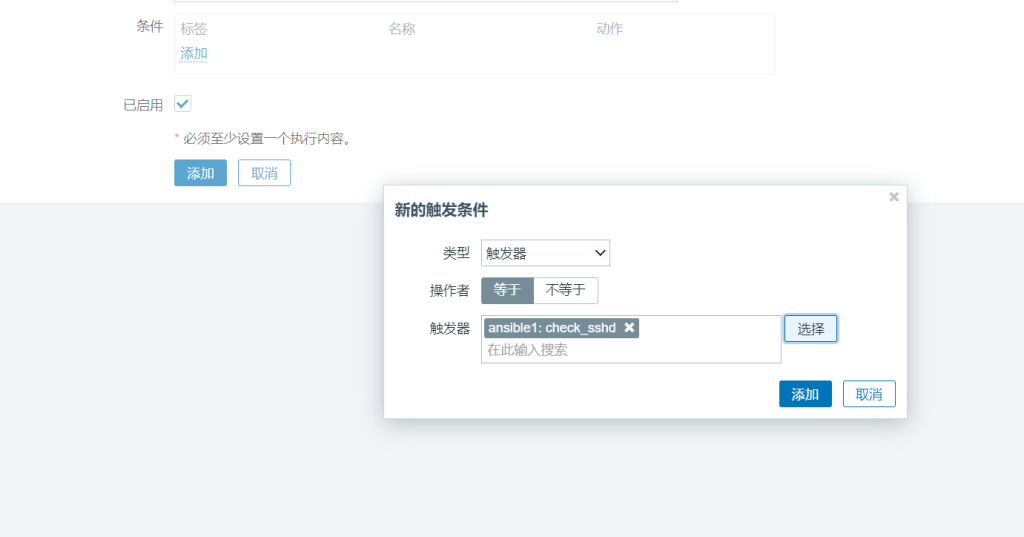
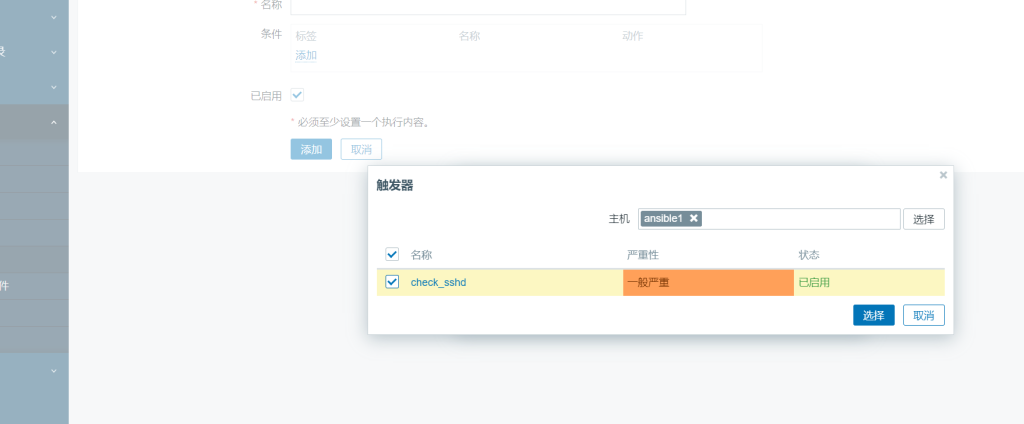
点击条例里的添加后选择类型触发器(触发器选择刚刚创建的)
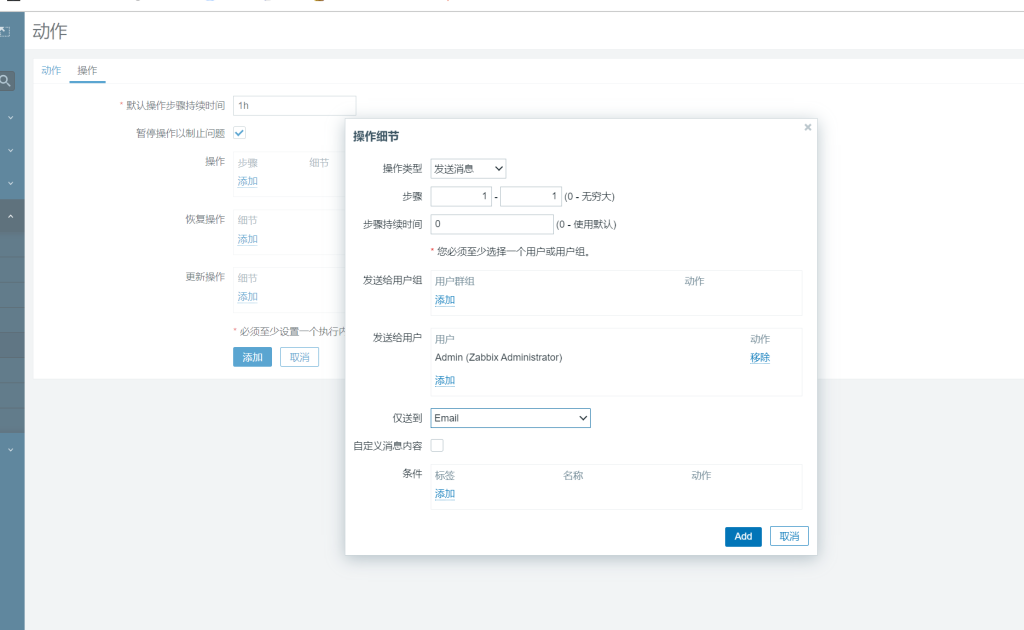
点击操作后操作添加需要发送到的用户和组、仅送到选择Email后点击Add
恢复操作里添加 远程命令、当前主机、并在命令里写入重启服务命令
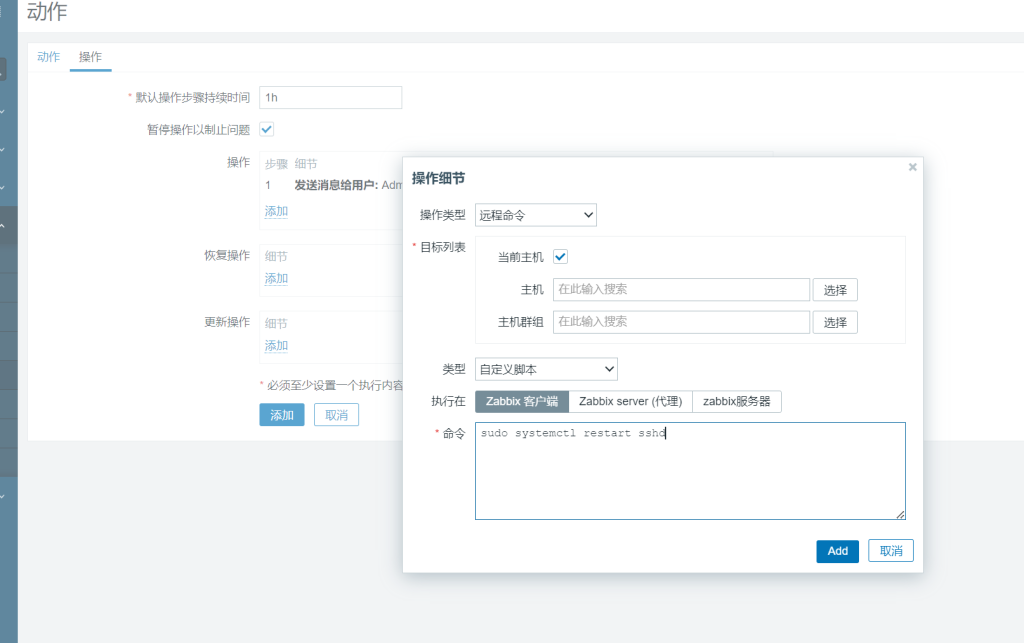
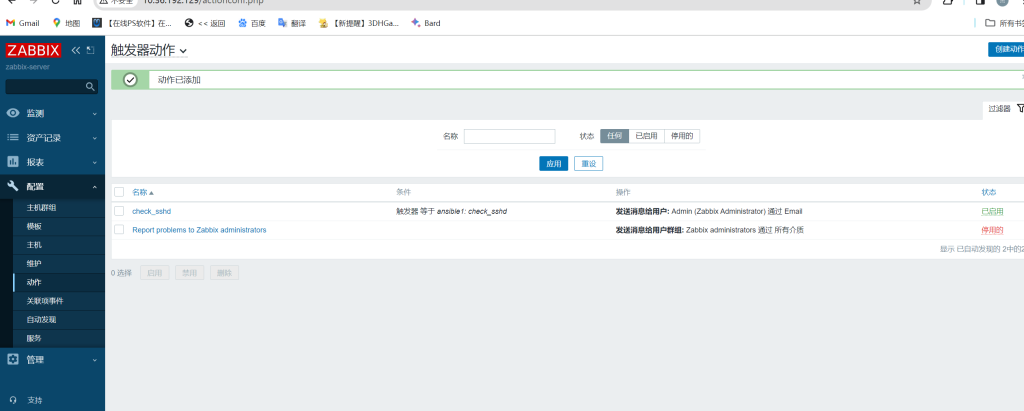
然后添加添加(注意:恢复命令的执行者zabbix是普通用户,需要提权并修改配置文件)
7)登录服务器为zabbix用户提权并修改配置文件
为zabbix用户提权
[root@ansible1 ~]# vim /etc/sudoers
为zabbix用户提取并设置不需要密码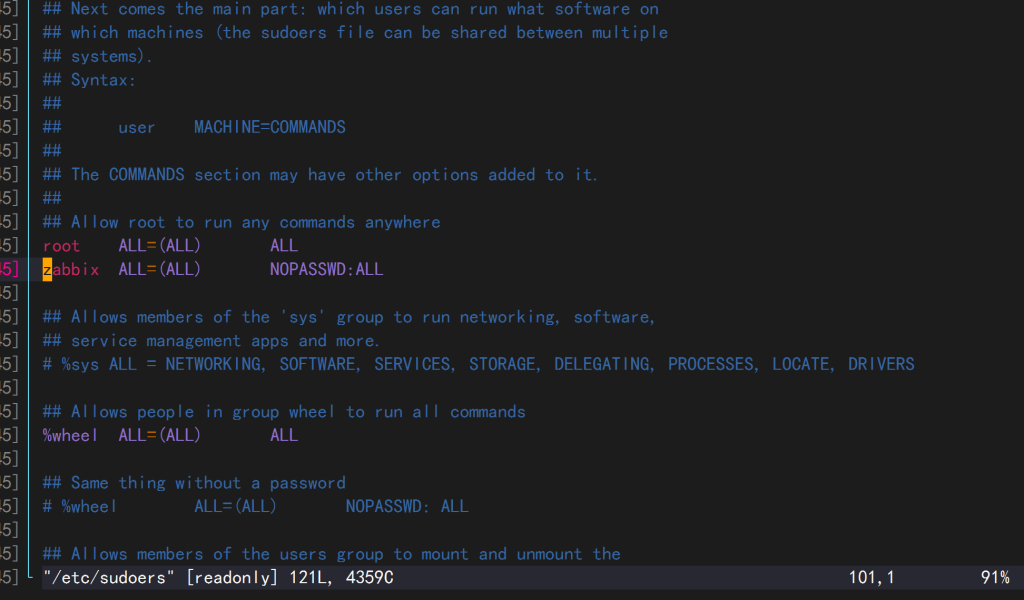
修改zabbix-agent配置文件
[root@ansible1 ~]# vim /etc/zabbix/zabbix_agentd.conf
开启命令使用权限和日志记录
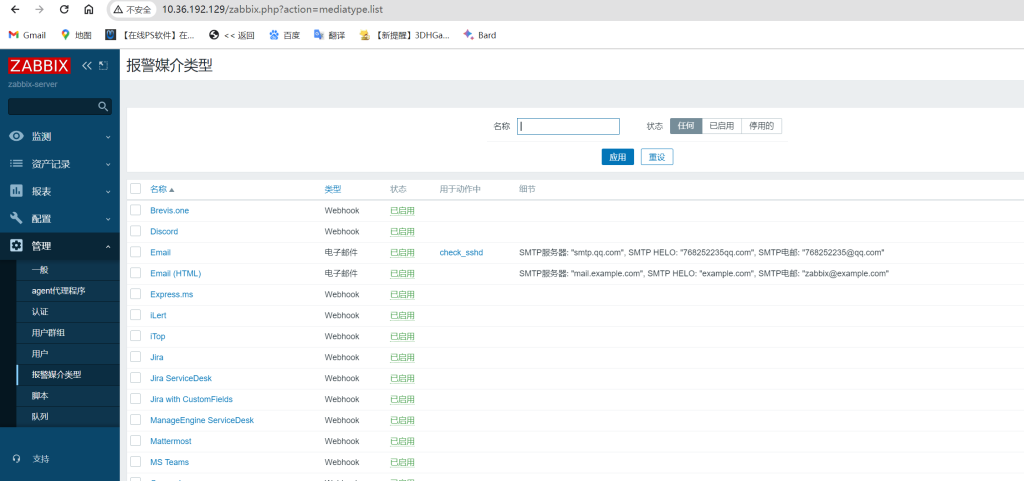
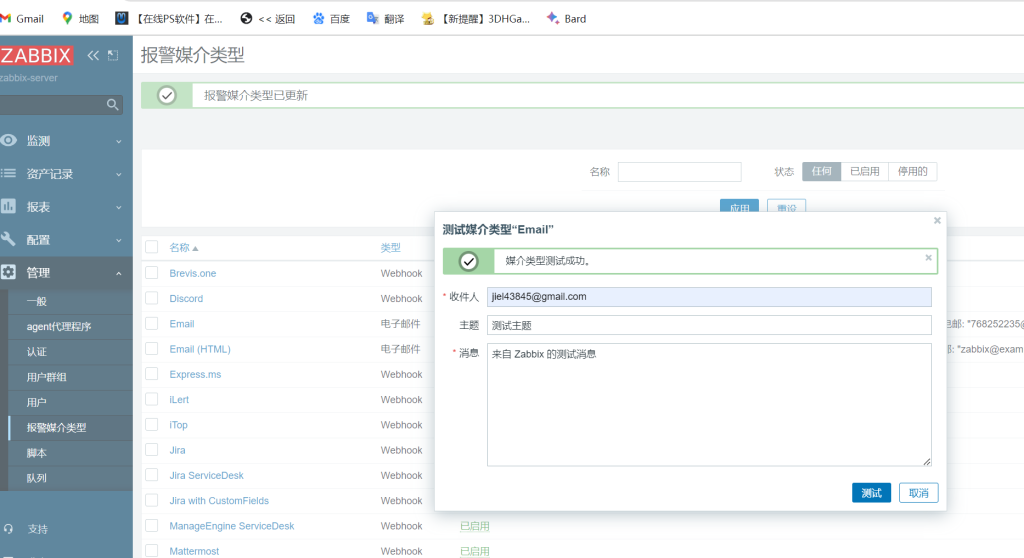
8)配置邮箱
点击Email
配置如下密码为qq邮箱授权码
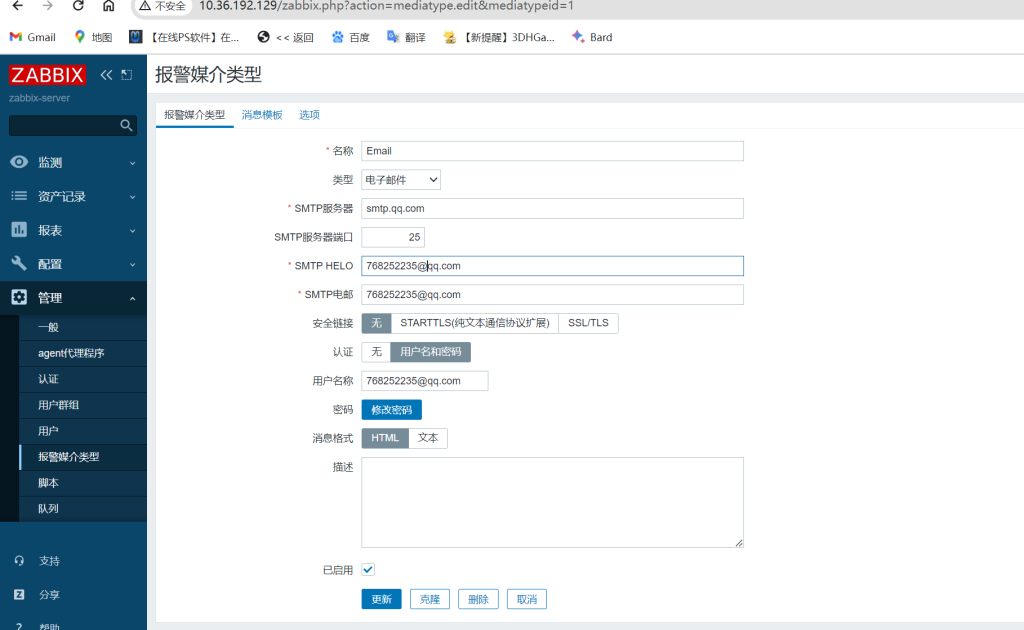
点击测试看看是能成功

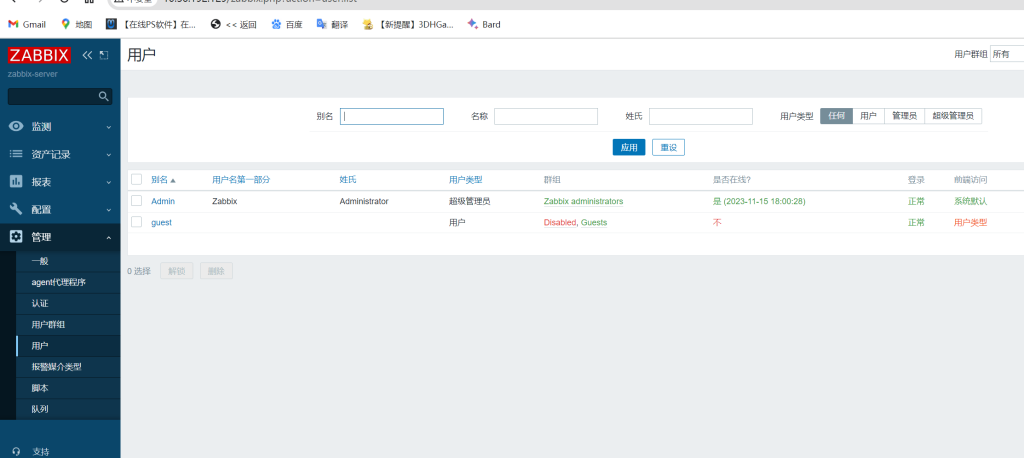
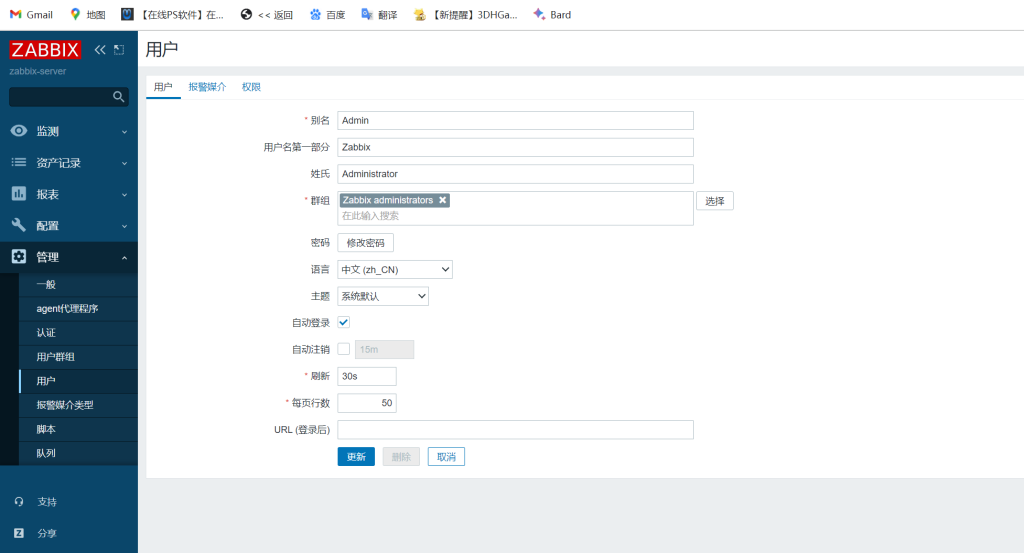
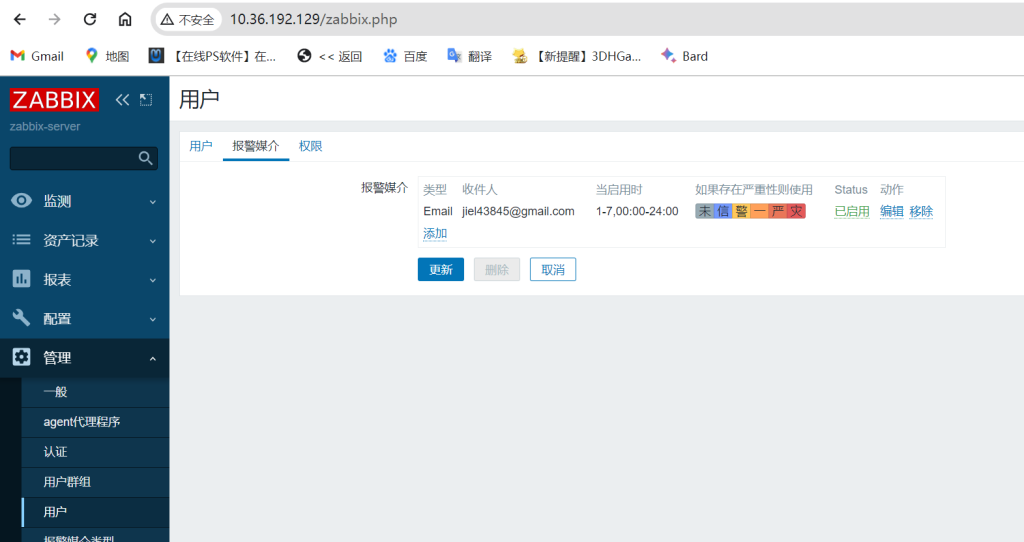
9)添加用户
点击Admin报警媒介添加
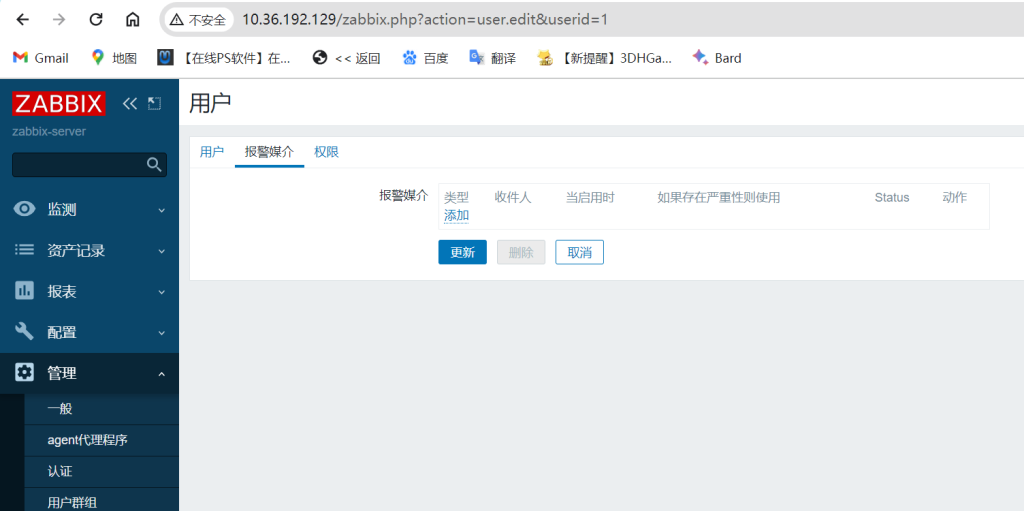
选择类型添加收件人
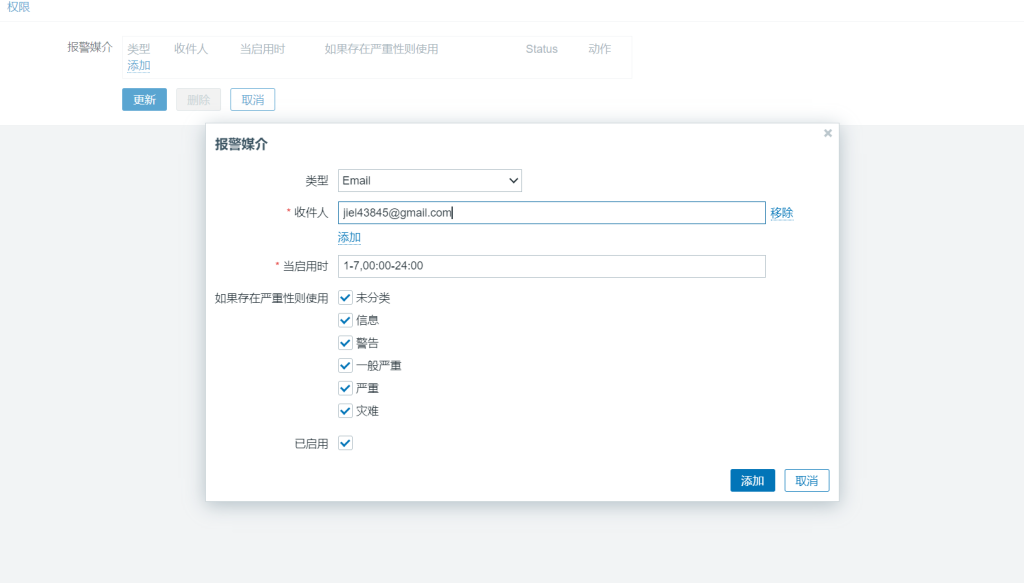
点击更新
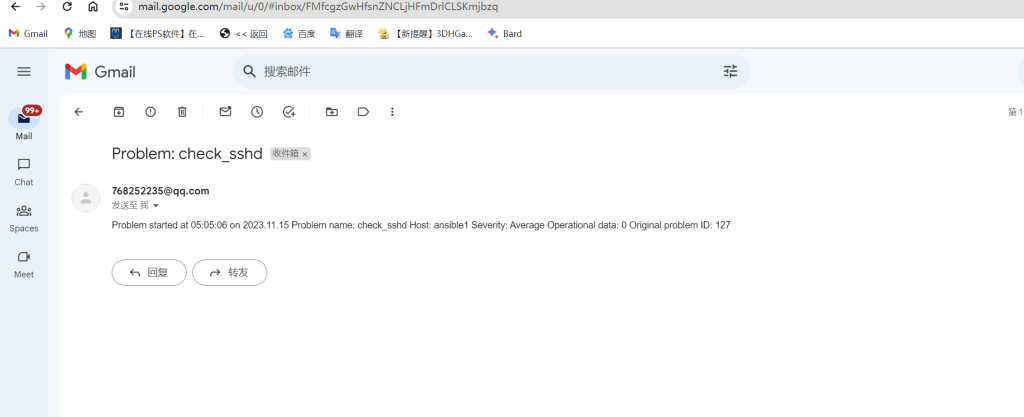
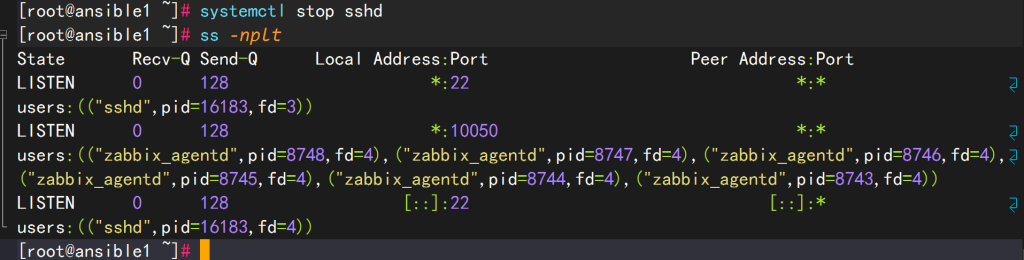
10)测试是否成功
进入终端停止sshd服务

登录zabbix监控页面查看
点击ansible1问题1
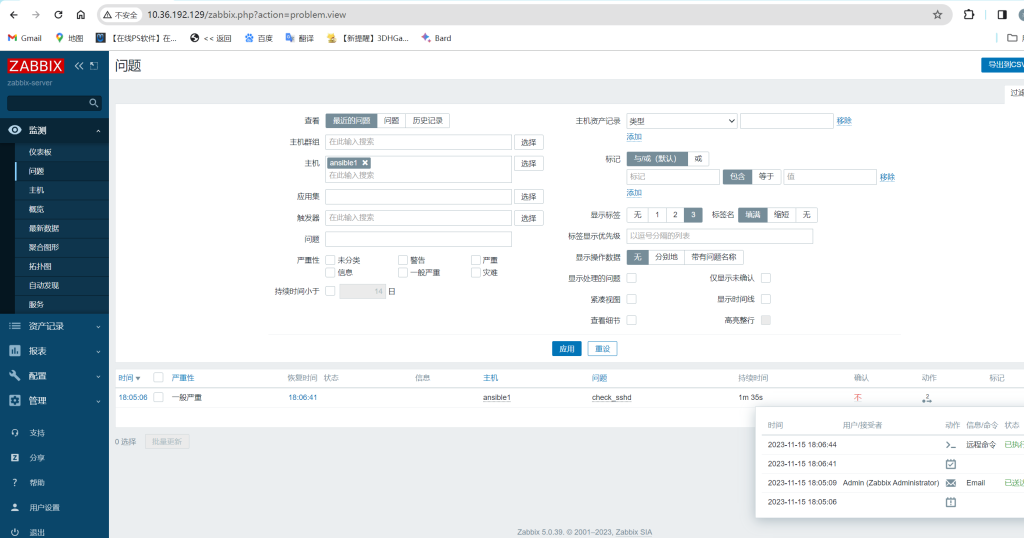
显示成功
终端查看是否启动
登录邮箱看看是否收到邮件