1、准备安装环境
准备一台服务器
关闭防火墙和selinux
[root@localhost ~]# systemctl stop firewalld
[root@localhost ~]# setenforce 0
2、安装gitlab
1)安装所需依赖包
[root@localhost ~]# yum install -y curl policycoreutils-python openssh-server perl2)下载gitlab的rpm包或将已下载好的包上传服务器并安装
[root@localhost ~]# yum -y install gitlab-jh-16.5.2-jh.0.el7.x86_64.rpm3)初始化
[root@localhost ~]# vim /etc/gitlab/gitlab.rb
external_url 'http://10.36.192.142'          #将url地址改为服务器域名或ip
[root@localhost ~]# gitlab-ctl reconfigure
4)查看gitlab状态
[root@localhost ~]# gitlab-ctl status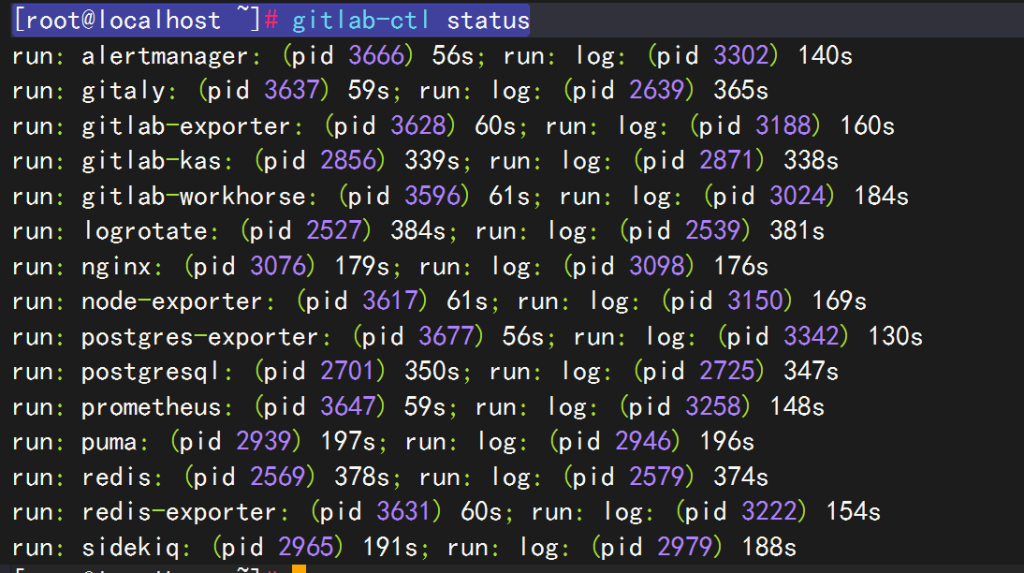
[root@localhost ~]# ss -nplt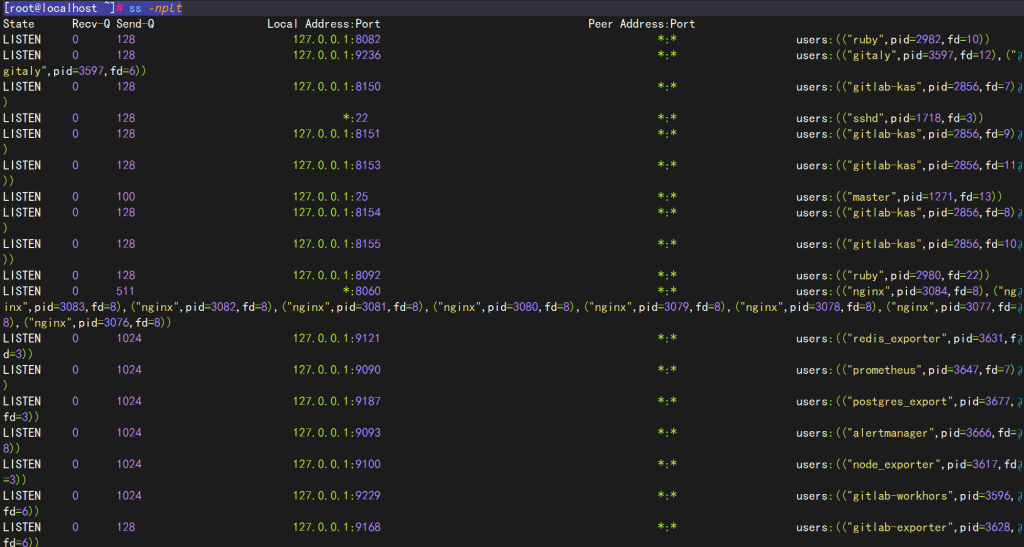
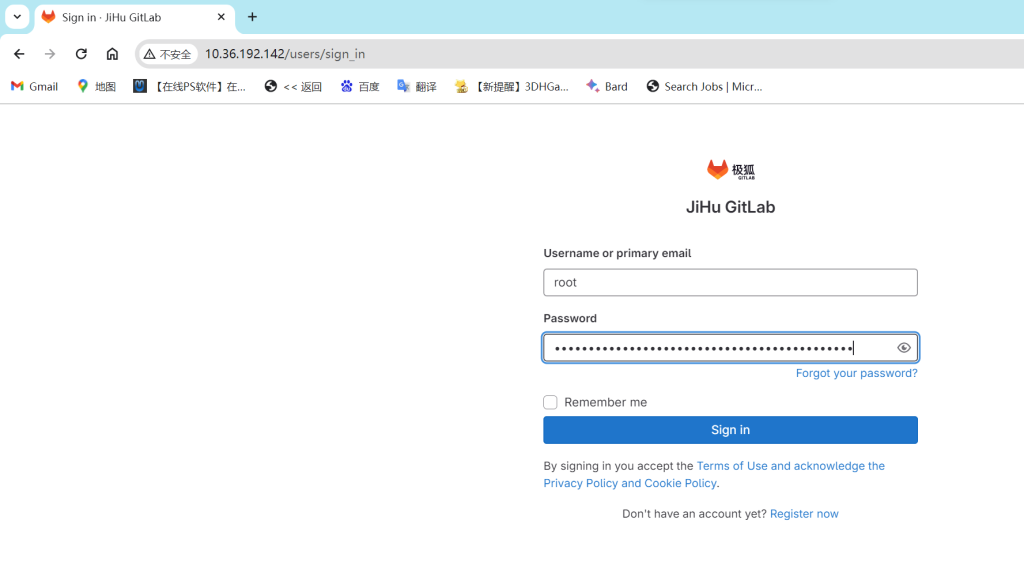
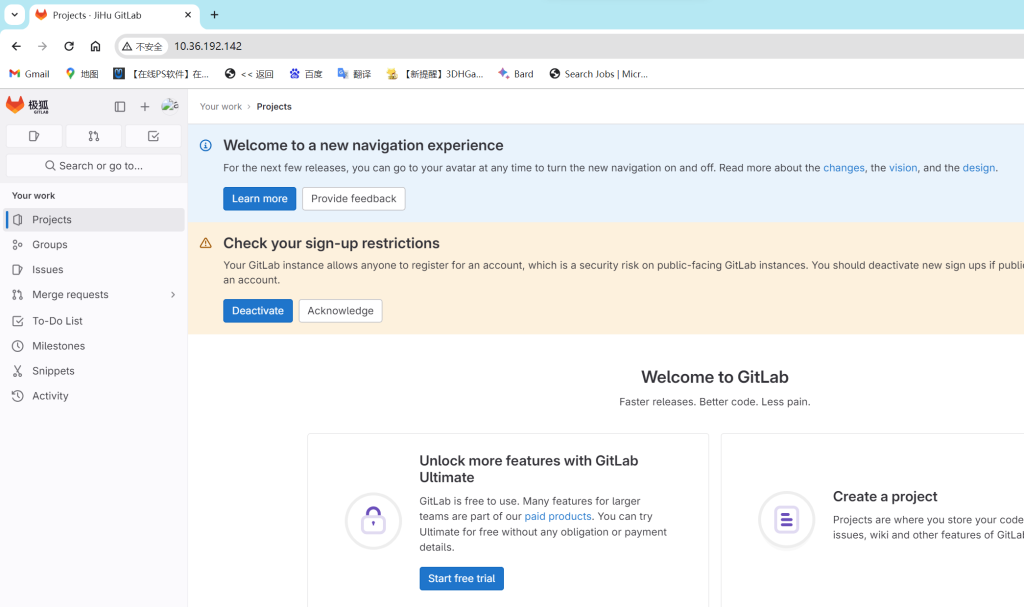
5)访问10.36.192.142登录gitlab
查看密码(初始化后只保留24小时)
[root@localhost ~]# cat /etc/gitlab/initial_root_password 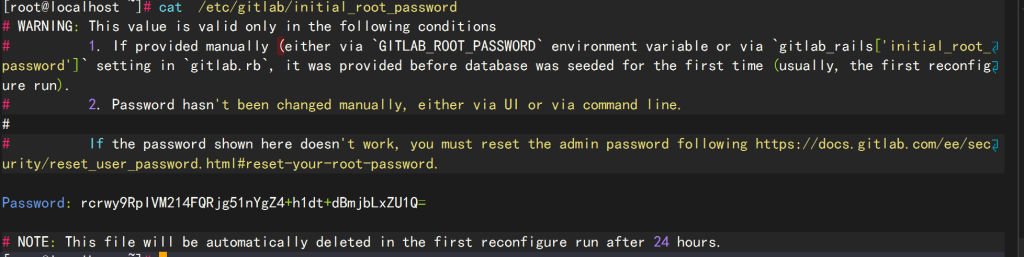
粘贴Password后密码
访问网站(账号root 密码为上面粘贴的password后内容后点击Sign in登录)
6)在设置将语言改为简体中文
点击左上角+号右边后点击Preferences
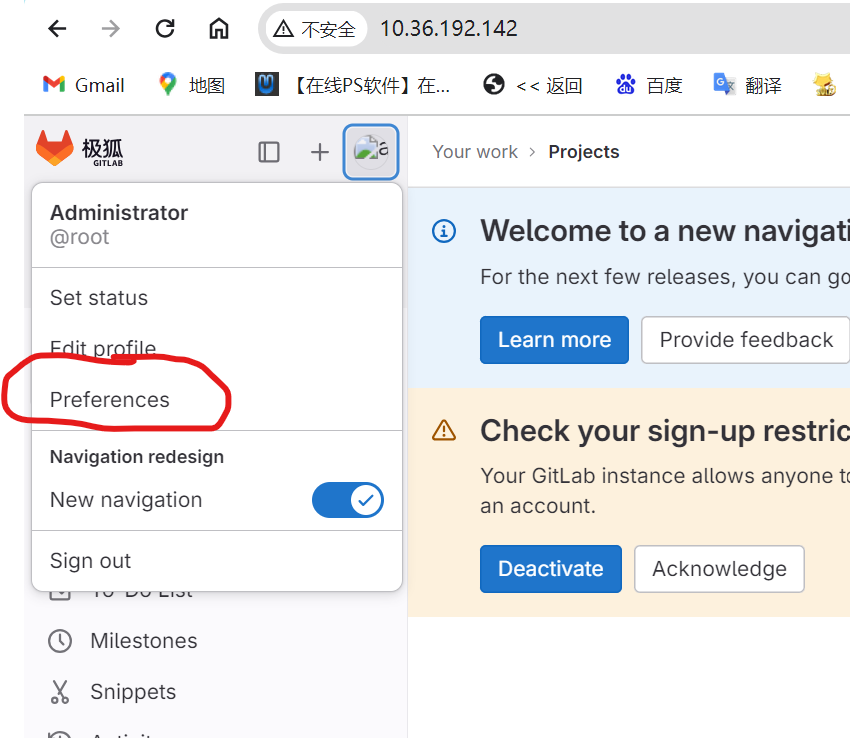
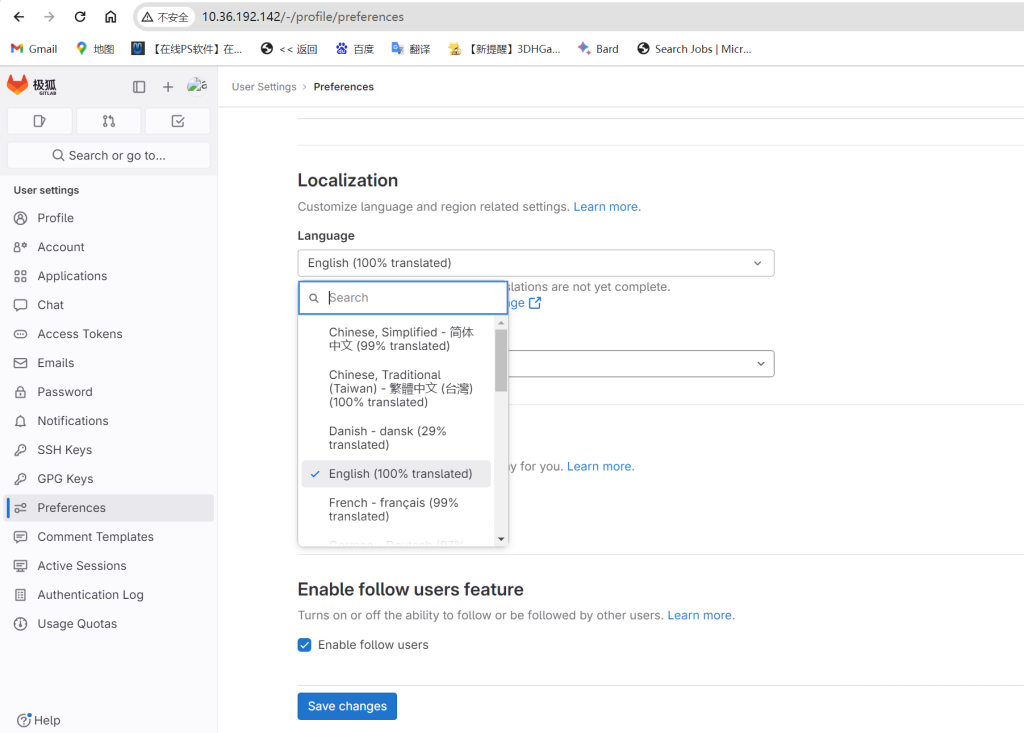
滑到下面language改为简体中文后点击下面save changes保存更改
3、简单使用
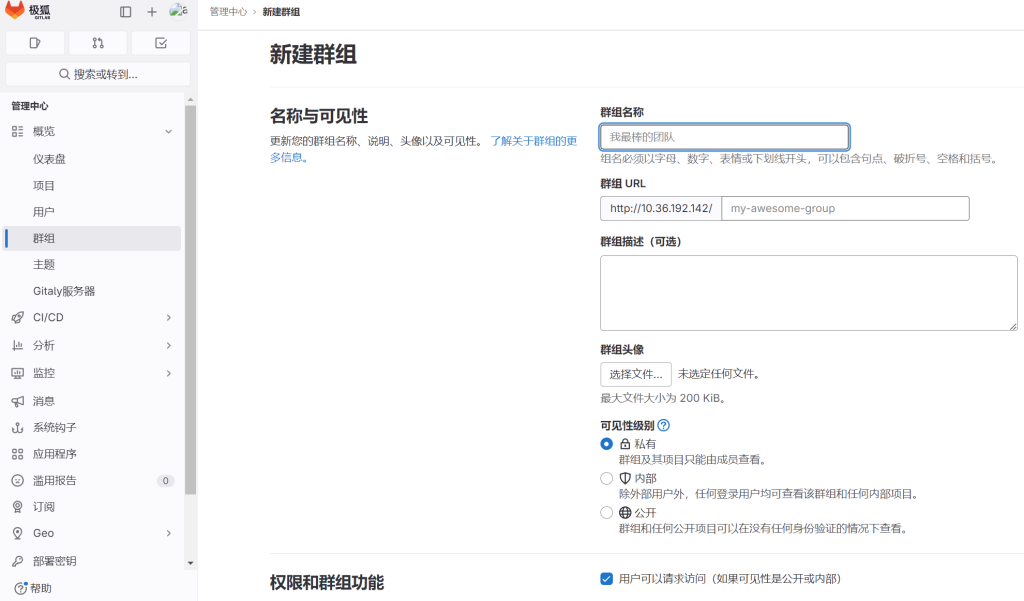
1)创建用户组
点击搜索或转到进入管理中心后点击群组新建群组
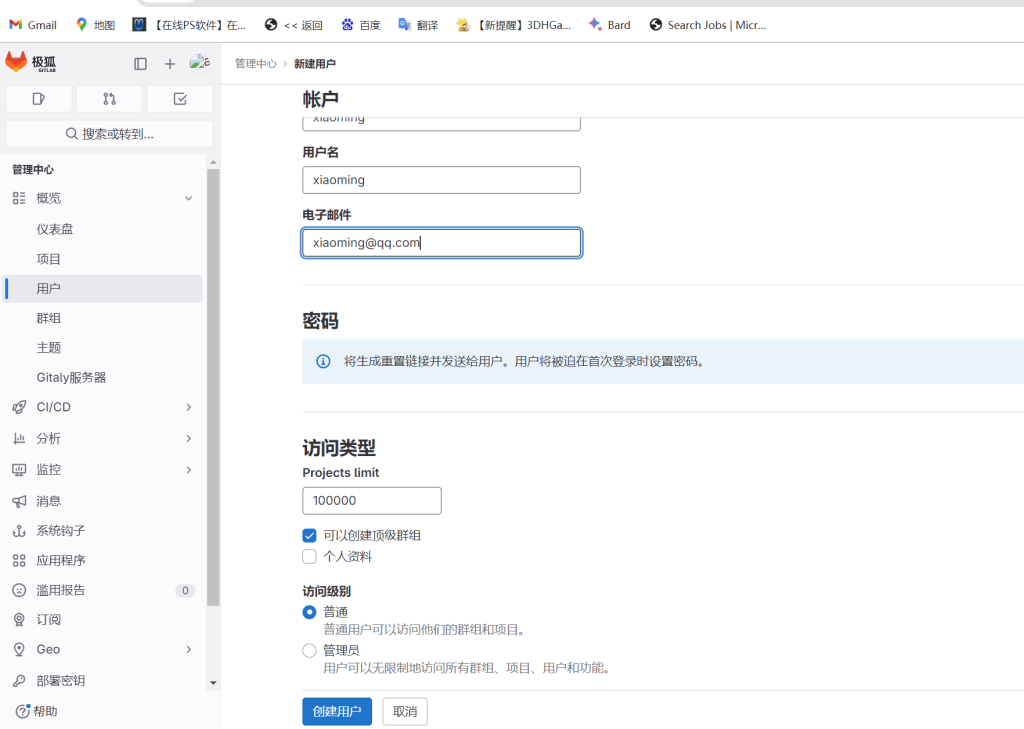
2)创建用户
点击用户创建新用户
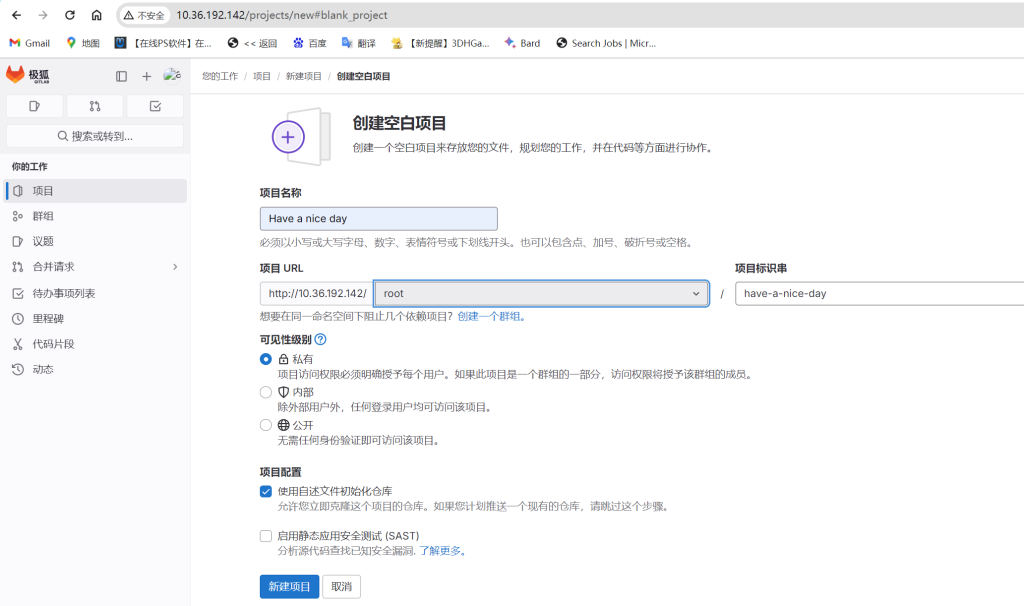
3)创建项目
点击项目创建一个新项目
4)拉取代码进行测试
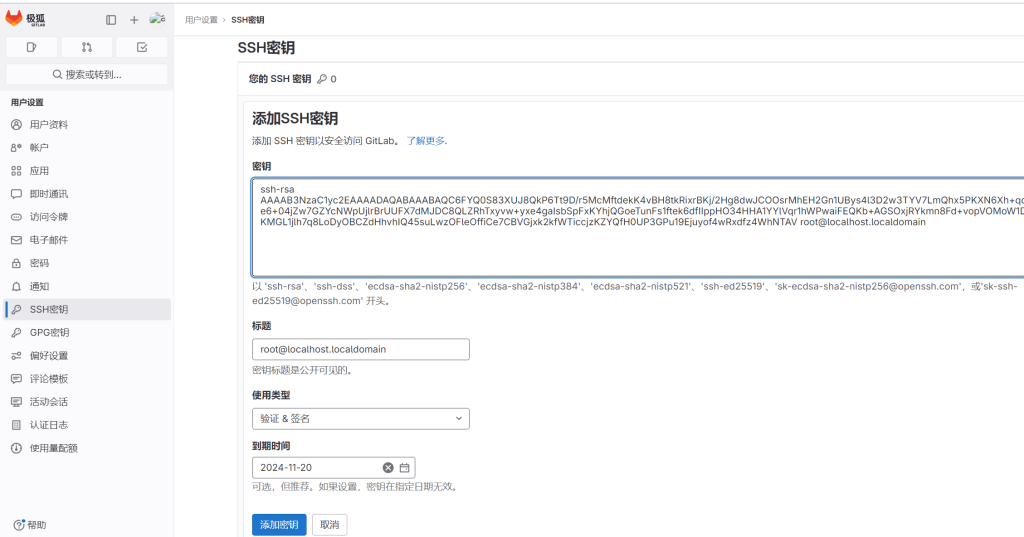
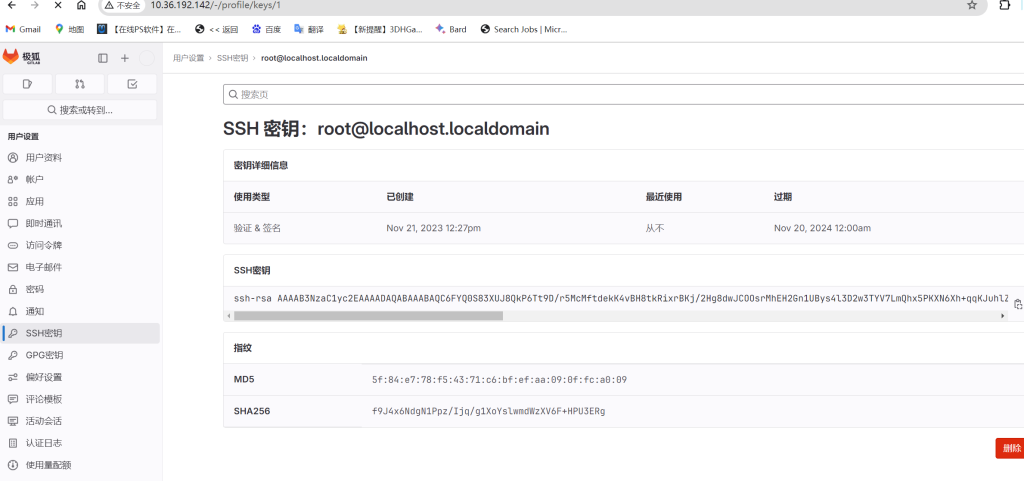
在服务器生成密钥查看并复制公钥
[root@localhost ~]# ssh-keygen
[root@localhost ~]# cat /root/.ssh/id_rsa.pub
ssh-rsa AAAAB3NzaC1yc2EAAAADAQABAAABAQC6FYQ0S83XUJ8QkP6Tt9D/r5McMftdekK4vBH8tkRixrBKj/2Hg8dwJCOOsrMhEH2Gn1UBys4l3D2w3TYV7LmQhx5PKXN6Xh+qqKJuhlZe6+04jZw7GZYcNWpUjlrBrUUFX7dMJDC8QLZRhTxyvw+yxe4gaIsbSpFxKYhjQGoeTunFs1ftek6dfIIppHO34HHA1YYlVqr1hWPwaiFEQKb+AGSOxjRYkmn8Fd+vopVOMoW1Dl35jBKjKMGL1jlh7q8LoDyOBCZdHhvhIQ45suLwzOFleOffiCe7CBVGjxk2kfWTiccjzKZYQfH0UP3GPu19Ejuyof4wRxdfz4WhNTAV root@localhost.localdomain
在gitlab里添加ssh密钥
在服务器安装git
[root@localhost ~]# yum -y install git将项目中的 README.md通过ssh克隆到服务器

[root@localhost ~]# git clone git@10.36.192.142:root/have-a-nice-day.git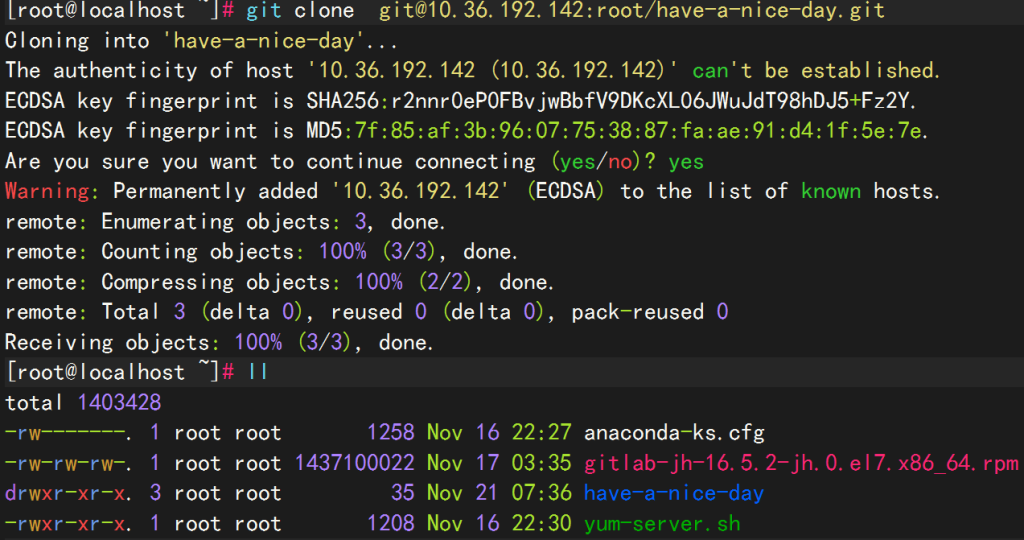
5)推送代码
在服务器上编写代码上传至gitlab项目
[root@localhost ~]# cd have-a-nice-day/
[root@localhost have-a-nice-day]# echo "ls root" > zz.sh
[root@localhost have-a-nice-day]# git add zz.sh
[root@localhost have-a-nice-day]# git commit -m "1"
[main 526e1dd] 1
 1 file changed, 1 insertion(+)
 create mode 100644 zz.sh
[root@localhost have-a-nice-day]# git push origin main
Counting objects: 4, done.
Delta compression using up to 8 threads.
Compressing objects: 100% (2/2), done.
Writing objects: 100% (3/3), 270 bytes | 0 bytes/s, done.
Total 3 (delta 0), reused 0 (delta 0)
To git@10.36.192.142:root/have-a-nice-day.git
   64a1b51..526e1dd  main -> main

刷新代码查看是否推送成功