什么是虚拟主机? 虚拟主机是一种特殊的软硬件技术,它可以将网络上的每一台计算机分成多个虚拟主机,每个虚拟主机可以独立对外提供www服务,这样就可以实现一台主机对外提供多个web服务,每个虚拟主机之间是独立的,互不影响。
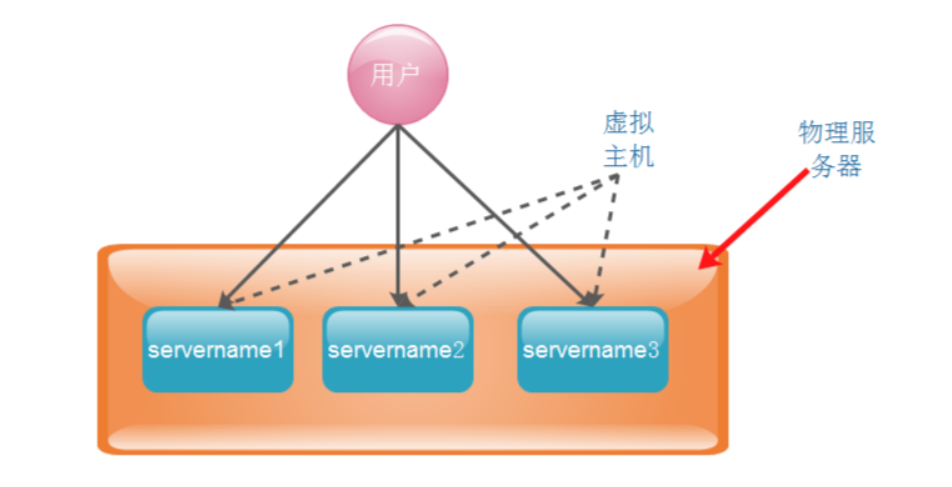
nginx可以实现虚拟主机的配置,nginx支持三种类型的虚拟主机配置。
1、基于域名的虚拟主机 (server_name来区分虚拟主机——应用:外部网站)
2、基于ip的虚拟主机, (一台主机绑定多个ip地址)
3、基于端口的虚拟主机 (端口来区分虚拟主机——应用:公司内部网站,外部网站的管理后台)
1、 基于域名的虚拟主机
关闭防火墙和selinux
[root@bogon ~]# systemctl stop firewalld && setenforce 0
yum安装nginx服务
启动nginx服务
systemctl start nginx
进入nginx子配置文件
[root@bogon ~]# vim /etc/nginx/conf.d/default.conf
server {
listen 80;
server_name www.zc.com;
location / {
root /usr/share/nginx/html;
index index.html index.htm;
}
}
server {
listen 80;
server_name www.az.com;
location / {
root /var/www/nginx;
index index.html index.htm;
}
}
重启nginx服务
[root@bogon ~]# systemctl restart nginx
创建网站目录
[root@bogon ~]# mkdir -p /var/www/nginx/
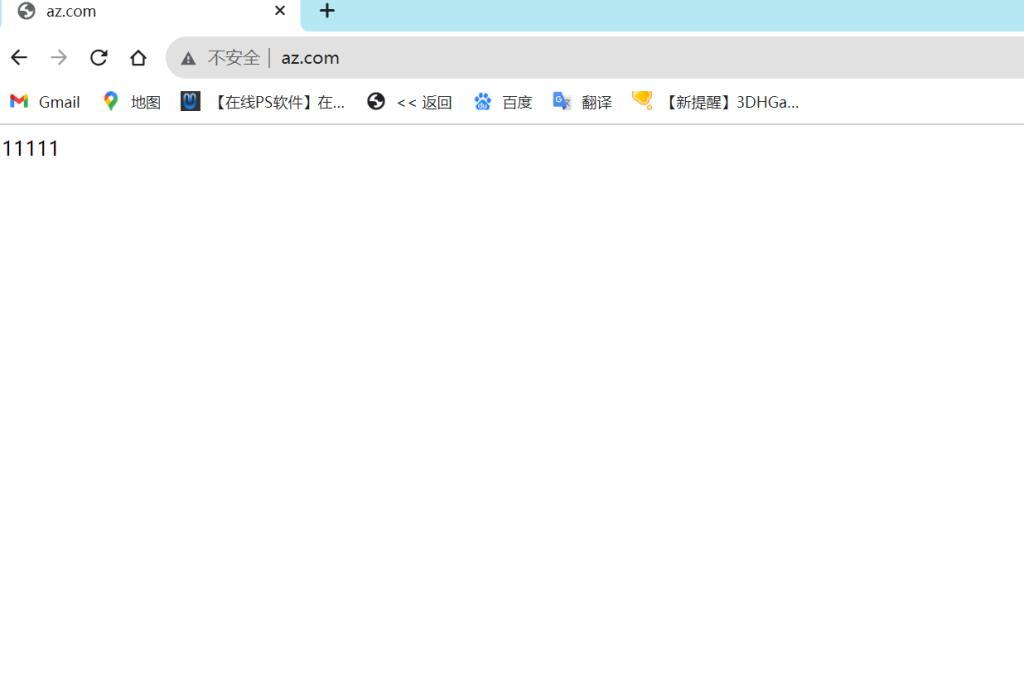
[root@bogon ~]# echo 11111 > /var/www/nginx/index.html
使用管理员身份在本机Windows域名解析文件里添加

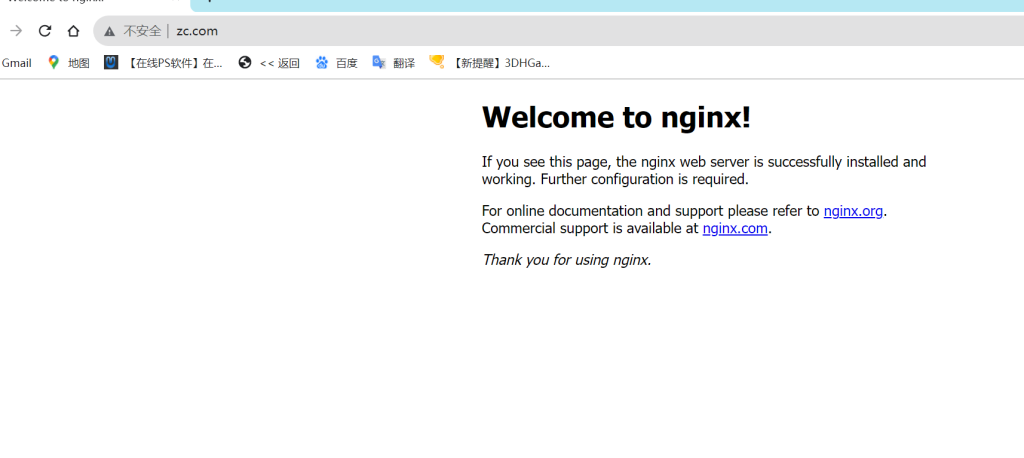
打开网站输入域名查看网站
2、 基于ip的虚拟主机
关闭防火墙和selinux
[root@bogon ~]# systemctl stop firewalld && setenforce 0
yum安装nginx服务
启动nginx服务
systemctl start nginx
添加一个临时ip
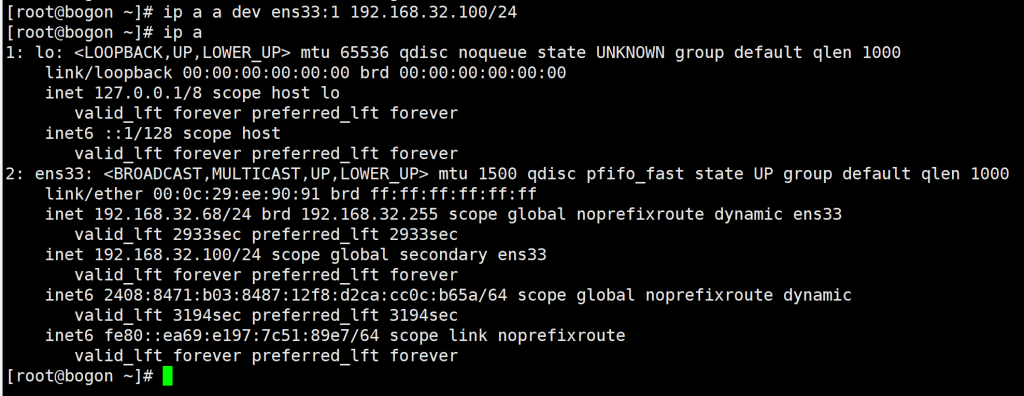
[root@bogon ~]# ip a a dev ens33:1 192.168.32.100/24
进入nginx子配置文件
[root@bogon ~]# vim /etc/nginx/conf.d/default.conf
server {
listen 80;
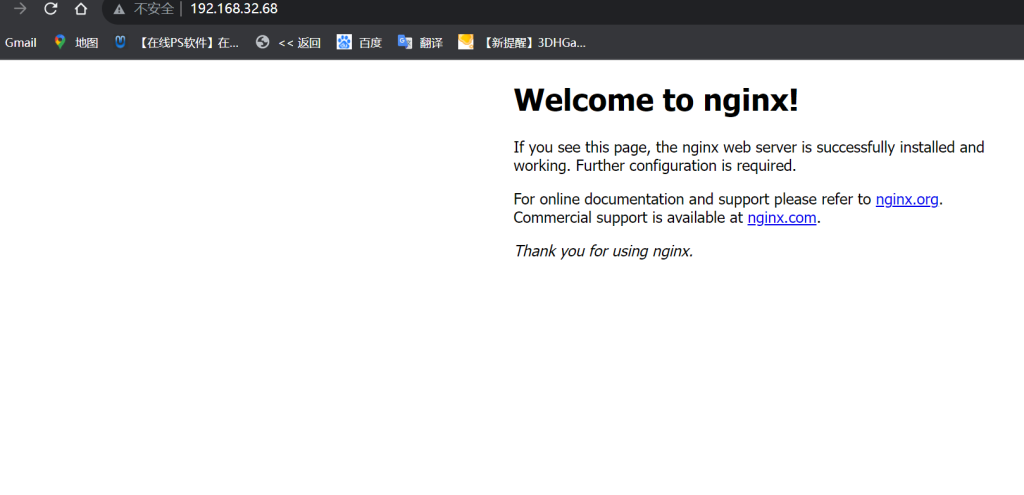
server_name 192.168.32.68;
location / {
root /usr/share/nginx/html;
index index.html index.htm;
}
}
server {
listen 80;
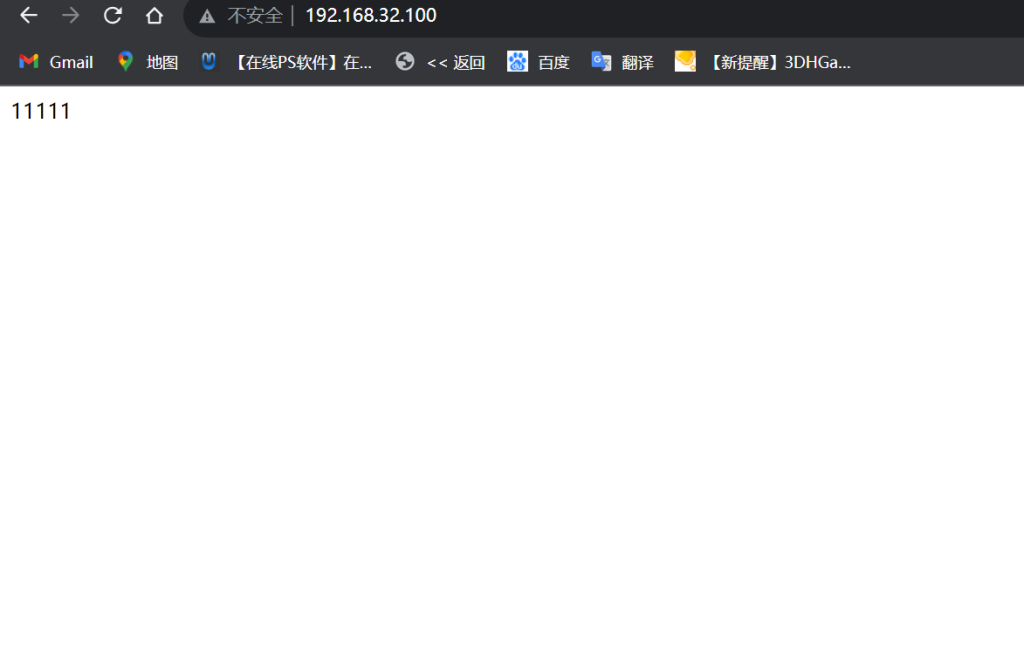
server_name 192.168.32.100;
location / {
root /var/www/nginx;
index index.html index.htm;
}
}
重启nginx服务
[root@bogon ~]# systemctl restart nginx
创建网站目录
[root@bogon ~]# mkdir -p /var/www/nginx/
[root@bogon ~]# echo 11111 > /var/www/nginx/index.html
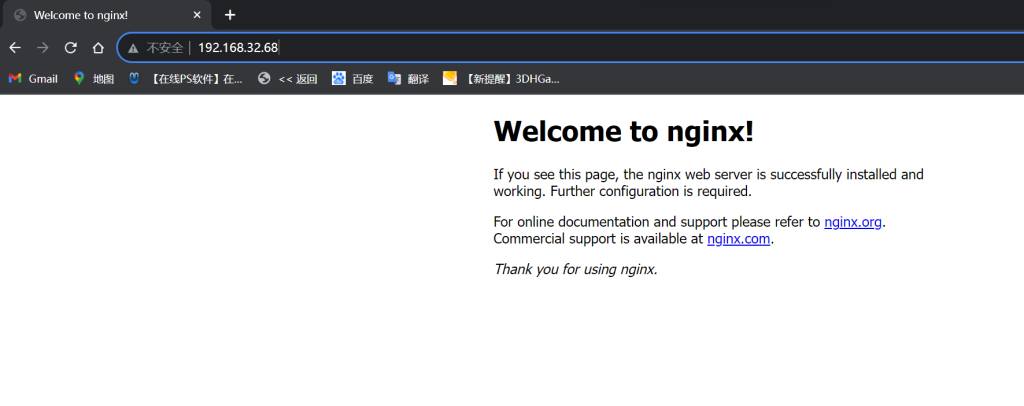
打开网站输入ip查看网站
3、 基于端口的虚拟主机
关闭防火墙和selinux
[root@bogon ~]# systemctl stop firewalld && setenforce 0
yum安装nginx服务
启动nginx服务
systemctl start nginx
进入nginx子配置文件
[root@bogon ~]# vim /etc/nginx/conf.d/default.conf
server {
listen 80;
server_name localhost;
location / {
root /usr/share/nginx/html;
index index.html index.htm;
}
}
server {
listen 81;
server_name localhost;
location / {
root /var/www/nginx;
index index.html index.htm;
}
}
重启nginx服务
[root@bogon ~]# systemctl restart nginx
创建网站目录
[root@bogon ~]# mkdir -p /var/www/nginx/
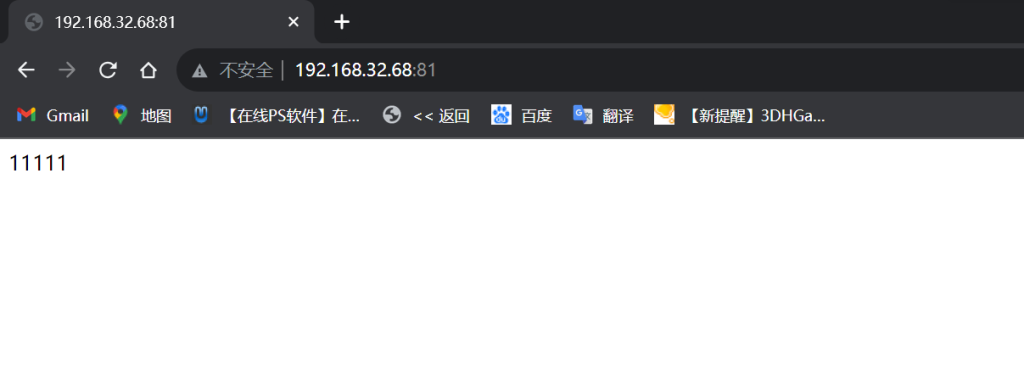
[root@bogon ~]# echo 11111 > /var/www/nginx/index.html
打开网站输入ip加端口号查看网站